How To Stop A Running Toilet
Learn what causes a toilet to run constantly and simple DIY fixes to stop the water waste. Discover whether it’s a faulty flapper, fill valve, handle or float arm causing the problem. Get step-by-step instructions for adjusting toilet tank parts and making repairs to stop a leaky, running toilet.
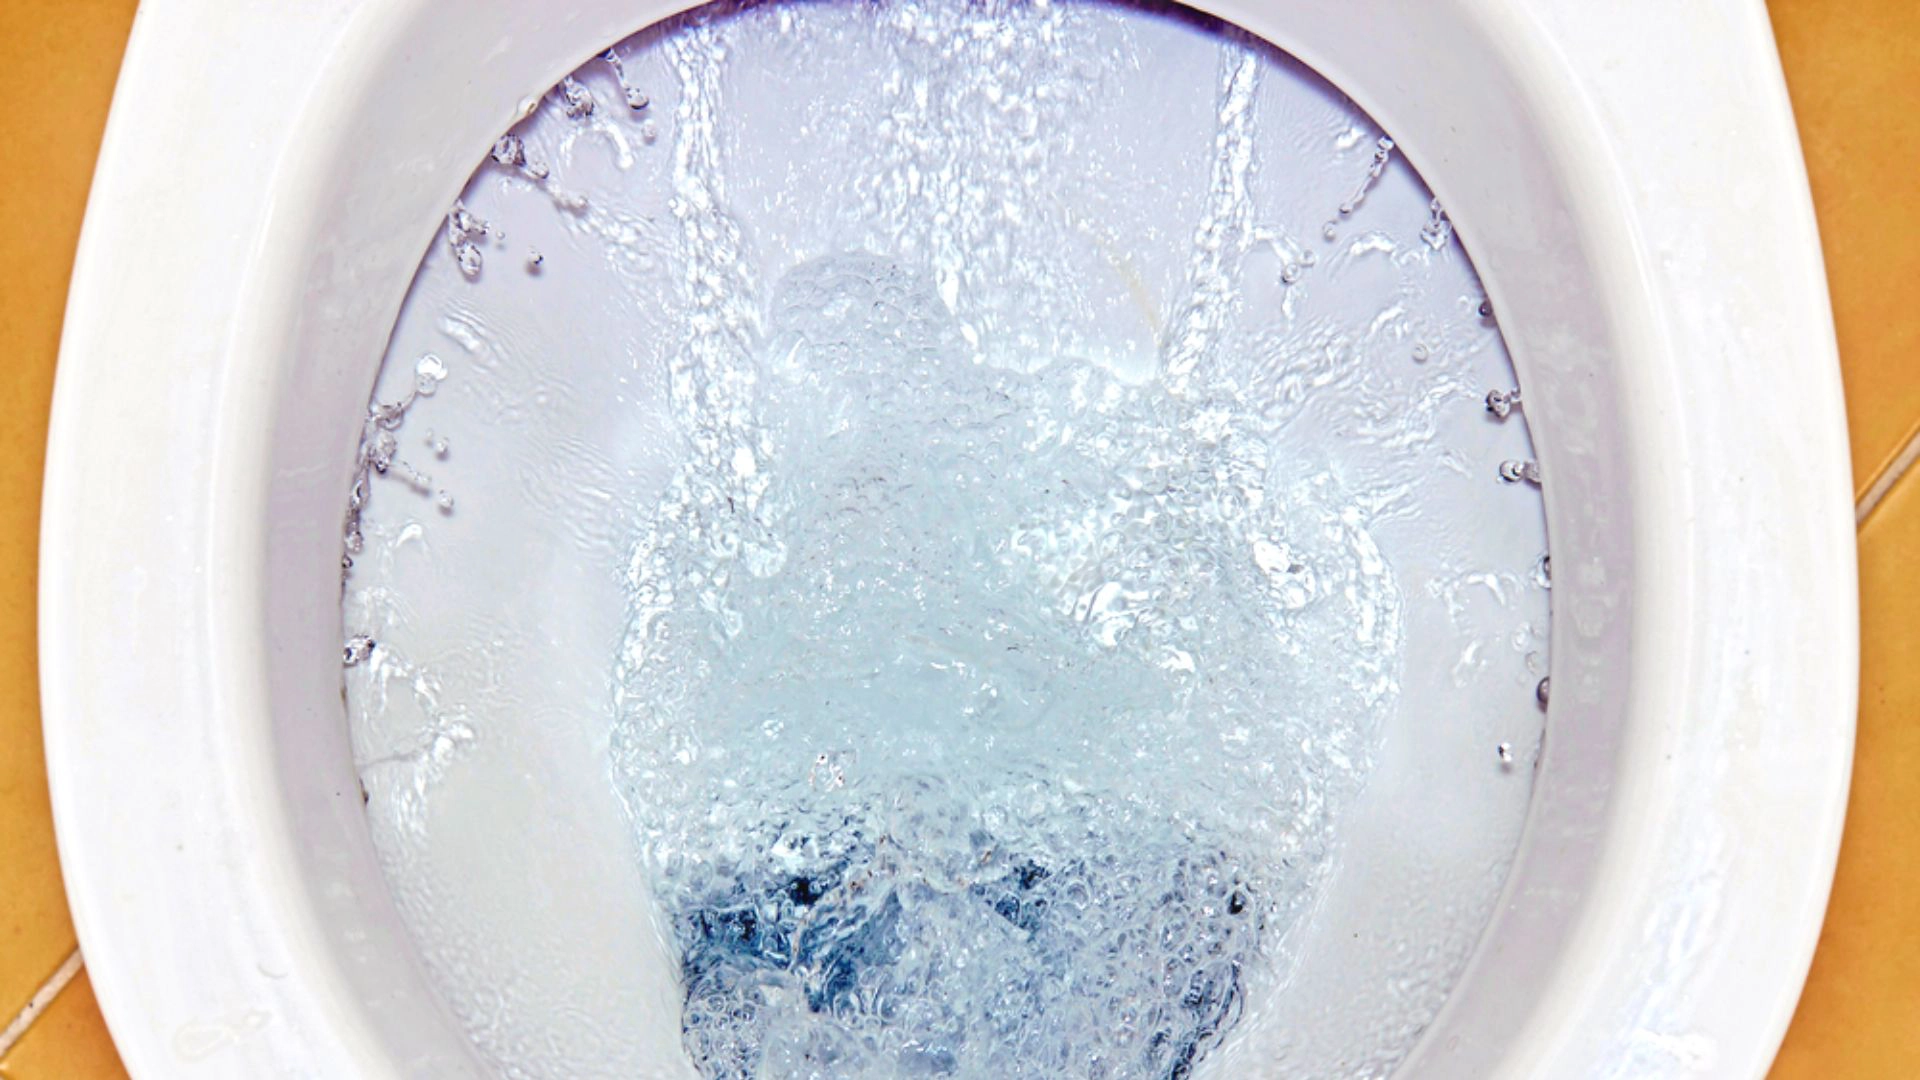
A running toilet is probably one of the worst problems a homeowner may face.
Not only does it waste a lot of water, but it also poses a severe health risk . Thus, it is in your best interests to fix it as soon as possible.
If you are not an experienced DIYer, stopping a running toilet alone may give you the willies. But we suggest you stop worrying because it is not as difficult as you think.
So, the question automatically arises - how to stop a running toilet quickly? That’s what we’re going to discuss in this brief guide. And we hope that after reading this article, you’ll be more than ready to fix a running toilet the DIY way.
Let’s get going, then!
Causes Of A Running Toilet
Before we fix the problem, it is essential to diagnose it properly . In this section, we have discussed some of the most common causes of a running toilet. Once you have determined the reason, fixing it becomes relatively easy.
So, let’s look at some of the most common causes of a leaky toilet.

1. Faulty Or Damaged Valves
A typical toilet consists of different types of valves with distinct functions. The fill valve helps fill the flush tank with the remaining water. The flush valve drains the stored water when you flush. The overflow valve maintains the water level and pressure in the flush tank.
If any of these valves were damaged or ruptured, the water would start leaking out of your toilet. Therefore, to determine which valve has been damaged, you must remove the tank lid over the flush and check for damages.
2. Ruptured Fill Tube
As you can guess from the name, the fill valve tube helps to fill up the toilet tank and is controlled by the fill valve. If it becomes ruptured, then some of the water will start leaking outside the toilet.
Open the lid and empty the tank to check if your fill tube is ruptured. If you see water leaking out of it while the tank fills, you’ll know it is ruptured.
3. Damaged Flapper
The flapper is the mechanism that controls the flow of water from the flush into the toilet bow l . It consists of two components - a sealing gasket and a chain , which works with the flush valve to supply water to the toilet bowl.
So, if the chain or sealing gasket breaks, the water will start leaking out of the flush tank. Fortunately, it is easy to diagnose if the flapper chain is broken. Take off the lid of the flush to check if it is intact.
You can try applying some pressure to the gasket to see if the leakage stop s. If it does, then the gasket is damaged and needs replacement.
4. Malfunctioning Toilet Handle
The toilet handle is connected to the flush valve and flapper via an elongated rod-like mechanism. So, if the handle malfunctions, the flushing mechanism will not work correctly, and the water will eventually start leaking out of your toilet.
You can quickly tell if the handle is malfunctioning since it will cause problems when you flush. But if you want to double-check, you can remove the lid and check the handle from the inside.
How To Stop A Running Toilet?
Now that you know the primary reason behind a running toilet, it’s time to fix the issue. As we have described below, you need to follow a systematic process.

Step 1: Turn Off The Water Supply
Before you get started, you must turn off the water supply line to your toilet to prevent water waste. It will also make your work much easier without excess water splashing everywhere.
Step 2: Remove The Upper Lid Of The Toilet
This step is self-explanatory and requires removing the upper lid to access the toilet inside. It would be best to dislodge the top by pulling on it gently and carefully. If there are some latching mechanisms, you must loosen them to remove the cover safely.
Step 3: Flush Out The Tank
Once you have turned off the water supply and removed the lid, you must flush the water from the tank. All you need to do here is press the flush button!
However, if the handle malfunctions, you must siphon the water using a pipe. Once the water has been drained, proceed to the next step.
Step 4: Fix The Leak
This is the most essential step, and it may vary slightly based on the cause of the leak. If the cause of the leak is a ruptured fill tube, damaged valve or a broken handle, then you will need to replace them with a new one.
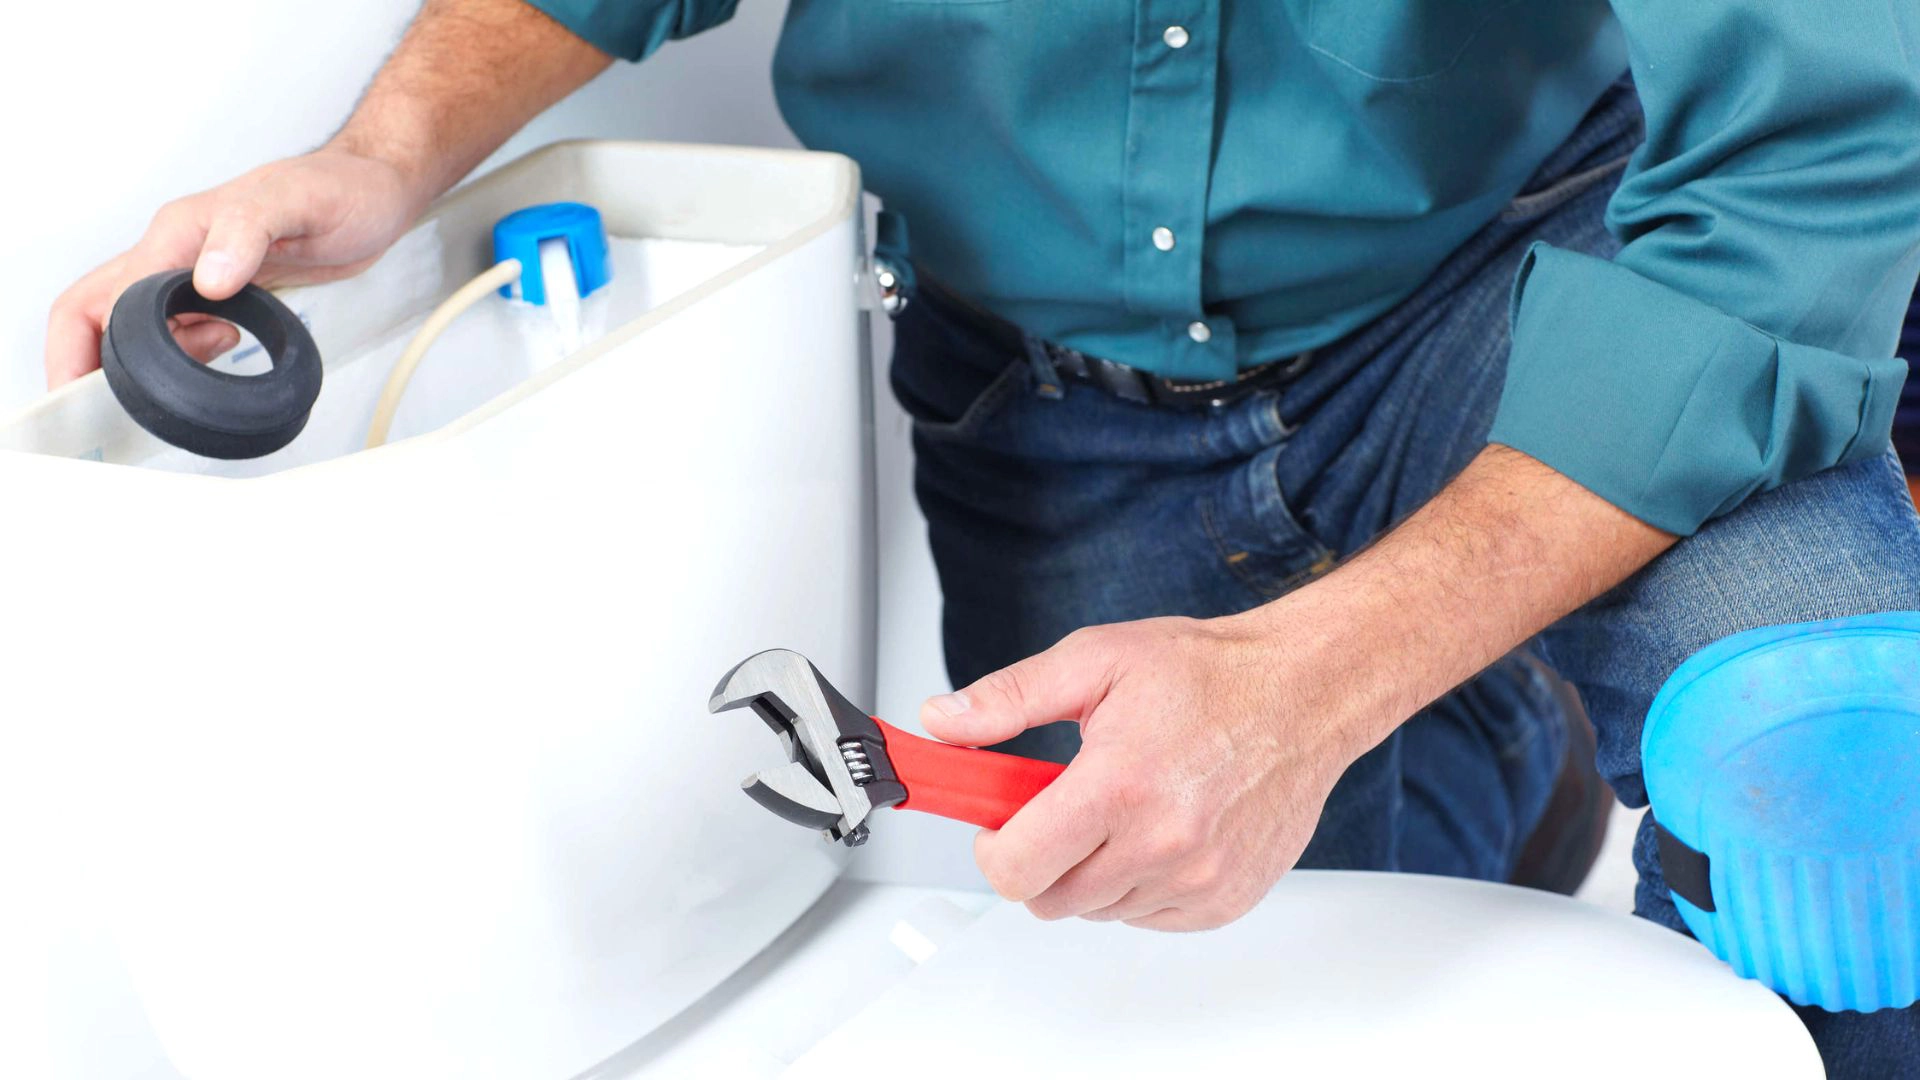
You’ll need to dismantle the existing part using pliers and a wrench . Subsequently, you will need to install and secure the new one.
In case of a broken flapper chain, you must remove and replace the old chain with a new one. The same goes for the sealing gasket; after you have replaced it, tighten it.
Step 5: Put The Toilet Lid Back In Place
After you have fixed the issue, it is time to put the lid back and secure its latches, if there are any. We suggest you check if all the parts work as expected and flush the toilet. Once everything is in order, secure the lid, and you’ll be done.
DIY Fix A Running Toilet
And that is how you can quickly stop a running toilet. After going through the steps, it doesn’t sound so complicated now.
If you are unsure or your toilet continues to run after following these steps , you can get help from a professional Sydney plumber . At Service First Plumbing , our experienced plumbing team offers exceptional toilet repairs that are both effective and affordable. So, !
That said, it’s time to wrap up this brief guide. Stay tuned for more informative guides in the future.
Until then, we bid you goodbye. Take care, everyone!
F.A.Q.s About Running Toilet
Why does my toilet keep running constantly?
A constantly running toilet is usually caused by a faulty toilet flapper or a problem with the float arm in the toilet tank. Water will keep flowing into the bowl if the flapper doesn’t seal well, and a float arm stuck in the up position will also cause continuous running water.
How do I adjust the float ball to stop my toilet from running?
You can adjust the float ball by bending the float arm down slightly. This will lower the water level in the toilet tank and reduce water pressure on the toilet flapper. Make minor adjustments and test to find the right float height to stop the running water.
Why does my toilet have a slow leak into the bowl?
A worn or cracked toilet flapper typically causes a slow leak. The rubber flapper inside the toilet tank may not seal properly, allowing water to trickle slowly into the bowl. Replacing the flapper will often fix a running toilet caused by a leak.
How can I tell if my toilet flapper needs to be replaced?
Signs that your flush valve flapper needs replacement include water running between flushes, reduced flushing power, jiggling the toilet handle to stop a running toilet, and visible cracking/warping on the rubber flapper. Replacing the flapper can resolve many causes of a constantly running toilet.
Does a running toilet increase my water bill?
Yes, a toilet that keeps running constantly after you flush can use hundreds of gallons of extra water daily. All wasted water running through the overflow tube will appear on your water bill. Fixing a running toilet by adjusting the float and replacing the flapper can save unnecessary water consumption.