Best Tips for Replacing Tap Washers Easily
Leaky taps can waste water and increase your bills. Discover the best practices for replacing washers in taps and how to fix leaks quickly, saving you time and money.
In Australia, leaking taps contribute significantly to water wastage, impacting household expenses. Queensland households experience the highest average water bills in the country , underscoring the importance of addressing this issue.
Fixing leaks promptly is essential for conserving water and reducing utility costs. Replacing washers is a simple, effective solution that can help mitigate these problems, ensuring both environmental and financial benefits.
Tap Washers: Essential Plumbing Components
Tap washers are crucial in preventing leaking taps. Understanding their role can help address a dripping tap efficiently.

Types of Tap Washers
Rubber Washers
Rubber washers are common in traditional taps and ensure a watertight seal. When a rubber washer becomes a worn tap washer, it can lead to a leaky tap.
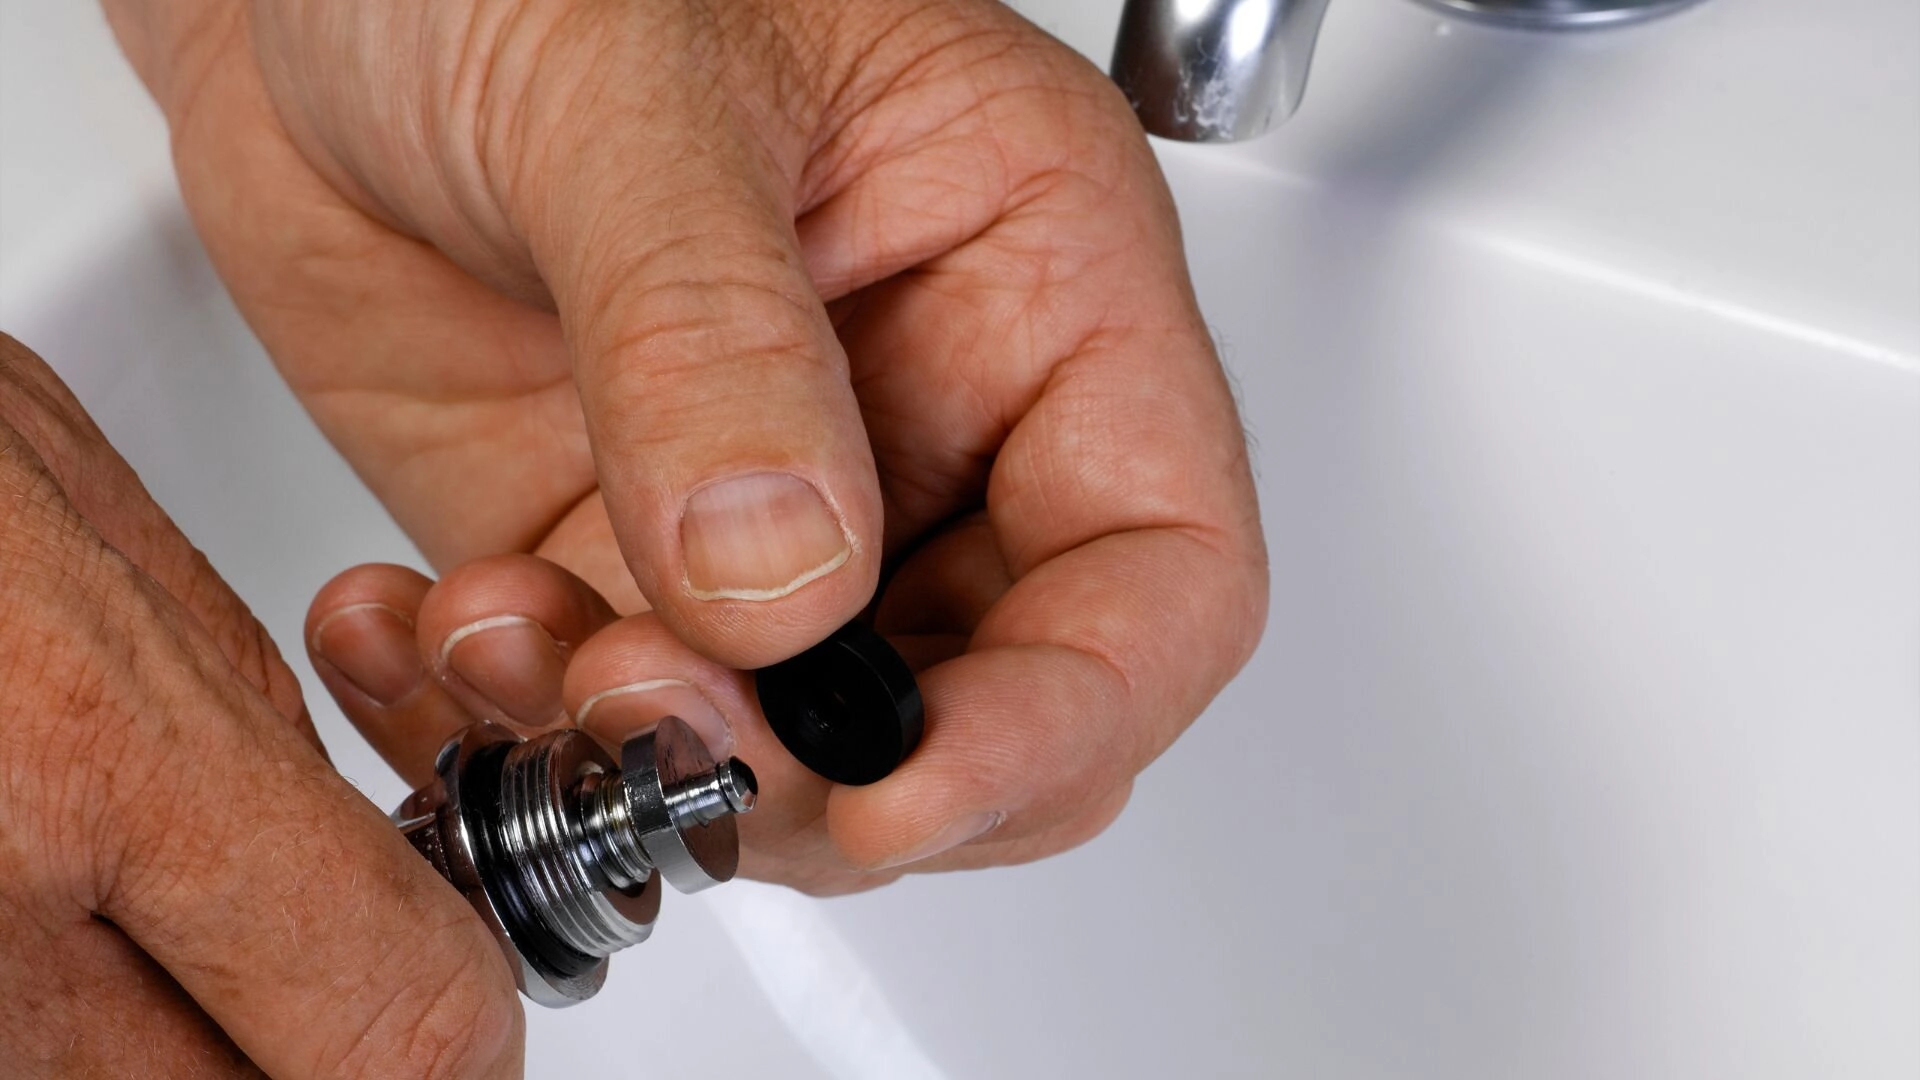
To fix this, you’ll need to change a tap washer. Remove the tap bonnet, and use a flathead screwdriver or needle nose pliers to replace the old washer with a new tap washer. Rubber washers are typically used in hot water tap or cold water systems.
Ceramic Disc Taps
Ceramic disc taps use ceramic cartridges instead of rubber washers. They are durable and require less frequent changes. If your ceramic disc tap leaks, replacing ceramic discs can prevent leaking taps and reduce water bills.
Tools and Materials for Replacing Tap Washers
Replacing a tap washer requires specific tools and materials. Here’s a comprehensive list to ensure an efficient repair process.
Essential Tools
- Flat Head Screwdriver : Use to remove the tap bonnet and tap handle.
- Phillips Screwdriver : Needed for the tap button screws.
- Penetrating Oil : Helps when the tap bonnet won’t unscrew easily.
- Needle Nose Pliers : For gripping the tap stem and removing the old washer.
- Old Towel : Place a towel inside the bathroom sink to catch excess water.
- Small Nut and Screw : Common in mixer taps.
Materials Needed
- New Tap Washers : Ensure they are the same size as the worn washer to maintain a watertight seal.
- Jumper Valve and Tap Seat : Check for any damage and replace if necessary.
Preparation Tips
- Turn Off the Water : Shut the water supply at the water meter to avoid leaks.
- Clear the Workspace : Ensure the pipes underneath the affected basin are accessible.
- Safety Equipment : Wear gloves to protect your hands during plumbing work.
Sourcing Quality Materials
Visit a reputable hardware store or consult a professional plumber to source quality tap components. If unsure, a professional plumbing company can provide guidance on specific sink requirements.
Additional Tips
Before changing a tap washer, ensure the tap washer located in the tap spindle is compatible with a hot water system. Remove the tap skirt and check the inner workings for any issues. Remember, a leaky tap can increase the water bill, so timely repairs are essential.
How to Replace a Tap Washer
Replacing a tap washer is a straightforward task that can fix a leaking tap. Follow these steps to change a tap washer efficiently.

1. Turn Off the Water Supply
First, locate the main water supply. This is usually near the water meter or under the sink. Turn off the water using the isolation valve to ensure no water flow during the process. This step is crucial to prevent flooding while you work on the tap.
2. Dismantling the Tap
To access the tap washer, start by removing the tap handle. Use your flat-headed or Phillips screwdriver to unscrew the tap button . Once removed, the tap bonnet unscrews easily, allowing access to the tap stem. Be careful not to lose the small rubber washer or screw that sits inside.
3. Removing the Old Washer
With the tap dismantled, gently pull out the worn washer. Check the tap seat for any damage or debris that might affect the new washer’s performance. If the tap seat is damaged, you might need to visit a hardware store for a replacement . Cleaning the area ensures a proper seal and prevents future leaks.
4. Installing the New Washer
Fit the new tap washer into the tap stem, ensuring it’s the correct size. Replace the tap bonnet and screw it back into place securely. Reattach the tap handle and tap the button. If you have limited plumbing experience, make sure everything is firmly in place to avoid a leaking tap later.
5. Testing the Tap
Once everything is reassembled, turn the water supply back on. Check the tap for any leaks by letting the water flow for a few moments. Inspect around the tap and plug hole for drips or leaks. If there’s no leaking, you’ve successfully managed to change a tap washer.
Make sure to dispose of the old washer properly and clean up any tools used . Keeping your workspace tidy prevents any small parts from going down the drain. With these steps, you can efficiently change a tap washer and ensure a leak-free tap.
Common Mistakes and How to Avoid Them
When replacing a tap washer, common errors can lead to a leaking tap. Using the incorrect washer size is a frequent issue . Ensure you have the correct new washer before starting.
Improper reassembly , like failing to properly tap the bonnet to unscrew or tighten, can also cause problems. Use either your flathead screwdriver to secure all components. Always turn off the isolation valve before changing a tap washer to prevent water flow issues . Double-check each step to avoid these pitfalls.
Benefits of Regular Maintenance
Regular tap maintenance can prevent future leaks and reduce water bills. You ensure a watertight seal by routinely checking and replacing a tap washer. This proactive care extends the lifespan of taps, saving money on replacements.
Regular checks help identify small issues before they become significant problems. Environmentally, maintaining taps reduces water wastage, contributing to conservation efforts. Financially, it prevents costly repairs and lowers utility expenses.
When to Call a Professional
If changing a tap washer doesn’t resolve a leaking tap, or if you encounter complex issues like damaged tap components, it’s time to seek professional help. Persistent leaks after initial repairs indicate underlying problems. A professional can ensure the tap is fixed correctly and safely, especially if you’re unsure about the isolation valve or reassembly.
Eco-Friendly Tips for Tap Maintenance
Maintaining taps with environmentally friendly practices helps conserve resources. Use biodegradable cleaning products to keep taps clean without harming the environment. When replacing parts, opt for recycled materials if available, ensuring sustainability in your repairs.
Regular tap maintenance is crucial for water conservation. Fixing leaks promptly reduces water wastage and contributes to lower water bills . A well-maintained tap prevents excess water flow, promoting efficient usage.
Incorporating these practices not only supports a healthier planet but also extends the life of your plumbing system. Adopting eco-friendly habits contributes to sustainability and reduces your environmental footprint.
Stay Leak-Free with Confidence
Regular tap maintenance is key to preventing leaks and conserving water. With the right knowledge and tools, anyone can replace tap washers effectively. By addressing a leaking tap promptly, you save water and reduce bills. A simple change of a tap washer can make a significant impact on the efficiency of your plumbing system.
Taking proactive steps ensures your taps remain in good condition, extending their lifespan and enhancing their performance. Remember, regular checks and maintenance protect your home from potential water damage and costly repairs.
For those times when you need expert help, contact Service First for professional Tap Leaks services . Our team offers convenience and assurance, ensuring your plumbing is in expert hands. or visit our website for more information . Consulting a specialist provides peace of mind and guarantees quality results. Let us help you stay leak-free with confidence!
FAQ: Best Practices for Replacing Washers in Taps
1. How often should I check my tap washers?
It’s recommended to inspect your tap washers every six months to ensure they aren’t worn and to prevent leaks.
2. What are the signs that a washer needs replacing?
Common signs include a dripping tap, reduced water flow, or difficulty turning the tap on and off.
3. Can I replace a washer without turning off the water supply?
No, always turn off the water supply using the isolation valve to avoid flooding.
4. What tools do I need to replace a tap washer?
You’ll need a flathead screwdriver, Phillips screwdriver, and possibly needle nose pliers.
5. How do I choose the right washer size?
Check your tap’s specifications or take the old washer to a hardware store for comparison.
6. What if my tap is still leaking after replacing the washer?
Ensure all parts are correctly reassembled. If the issue persists, consult a professional plumber.
7. Are there different washers for hot and cold taps?
Yes, ensure you use washers suitable for the specific tap type, especially in hot water systems.
8. Can I use any lubricant on tap components?
Use only plumber-approved lubricants to avoid damaging the tap components.