Clean Mineral Deposits from Showerheads
Mineral build-up on your showerhead can lead to poor water flow and an unpleasant showering experience. Discover quick, effective methods to remove those stubborn deposits and get your showerhead sparkling clean again. Follow these simple steps for a refreshing shower with improved water pressure.
Did you know that more than 60% of households in Australia have issues with hard water , leading to stubborn mineral build-up on plumbing fixtures? A clogged showerhead can reduce water pressure and negatively impact your shower experience. Hard water contains high levels of minerals like calcium and magnesium, which gradually accumulate in your showerhead, leading to blockages. This mineral build-up affects water flow and contributes to longer shower times, resulting in higher water bills and wasted energy.
A poorly maintained showerhead can become a source of frustration. Mineral deposits cause weak water pressure, uneven spray patterns, and unpleasant showering sounds . The good news is that cleaning these deposits is simple and effective when done regularly.
In this guide, you’ll learn new methods to clean mineral deposits from your showerhead, restore full water pressure, and keep it sparkling, ensuring a refreshing shower experience every time.
How Mineral Deposits Form on Showerheads
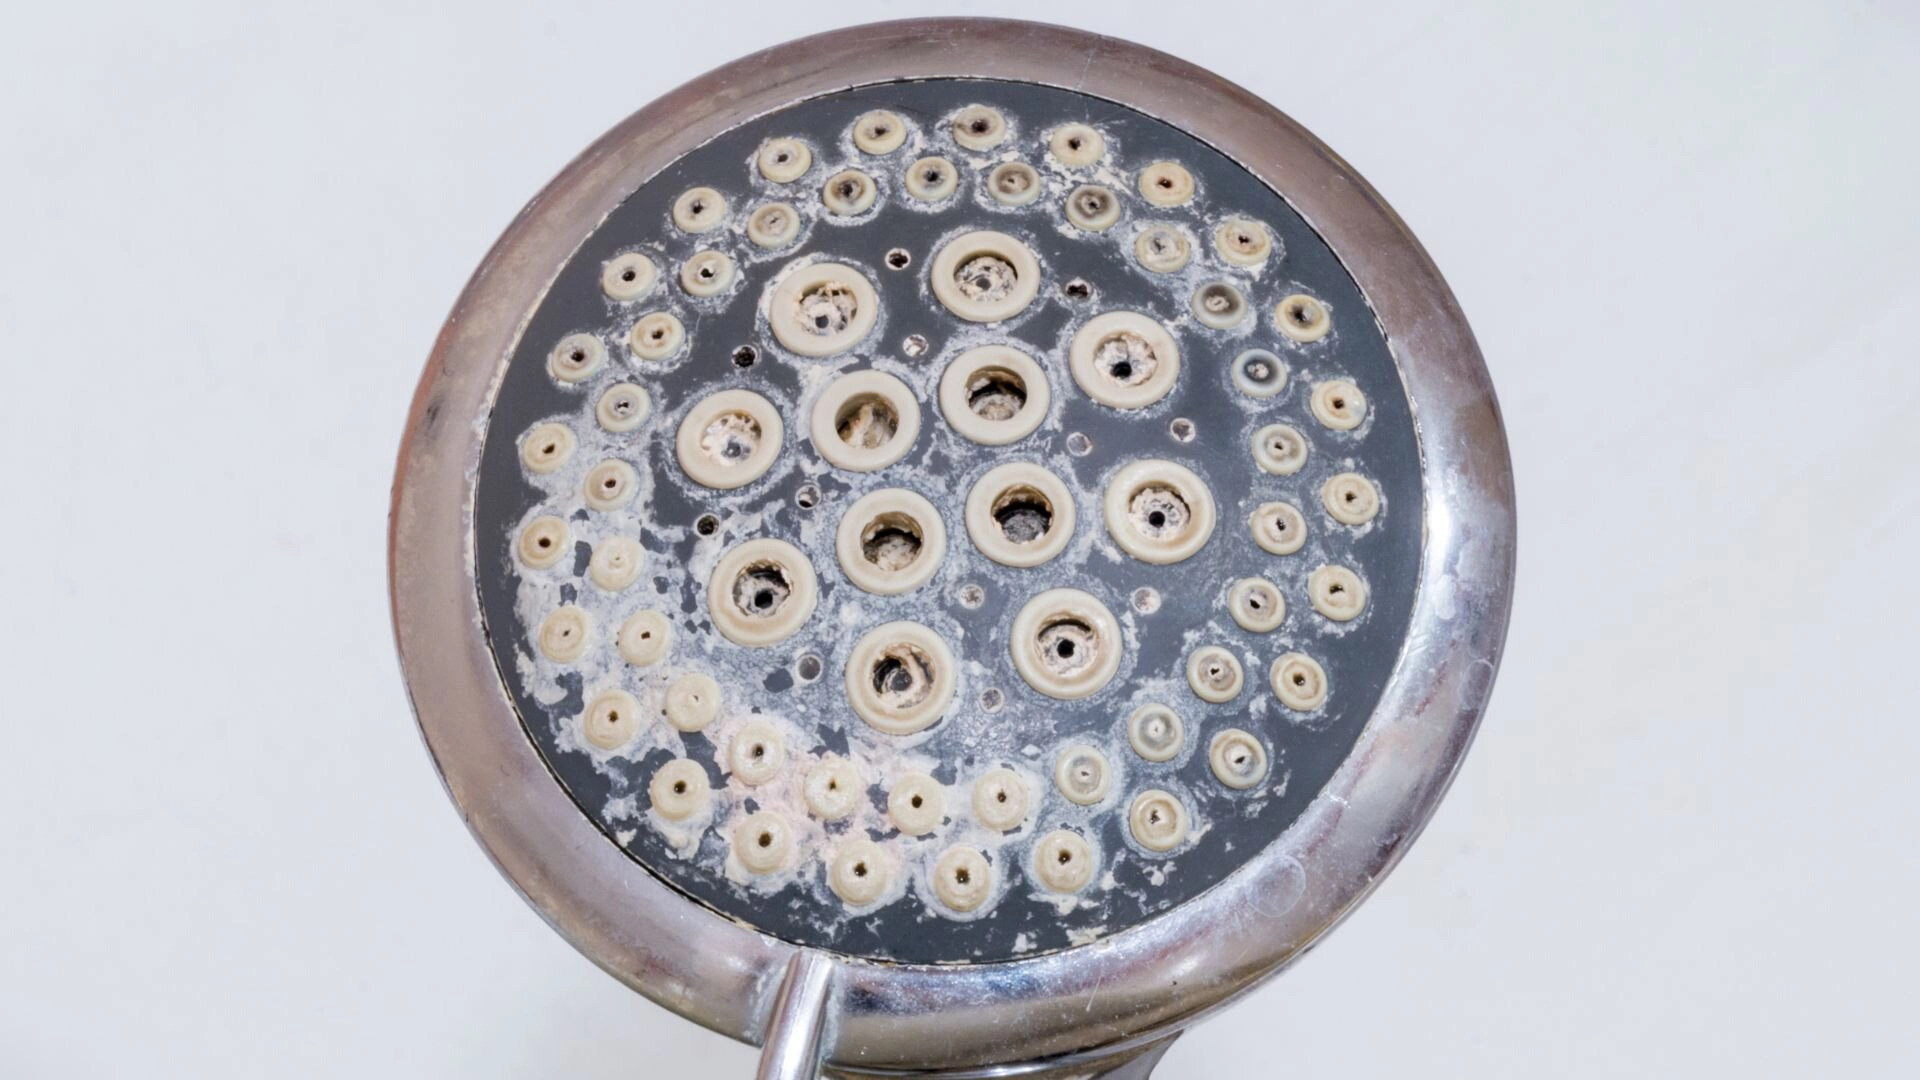
Hard water contains high levels of dissolved minerals, primarily calcium and magnesium. As water flows through your showerhead, these minerals gradually settle and form solid deposits, commonly known as limescale. This build-up restricts water flow, reducing water pressure and a subpar shower experience.
Calcium and magnesium are the main culprits. Over time, these minerals crystallise to form stubborn deposits that cling to the inside and outside of your showerhead. Limescale often appears as white or greenish crusts, especially on metal surfaces.
If mineral deposits are left untreated, they can lead to corrosion of the showerhead, weakening its structural integrity and eventually causing leaks . Regular maintenance can help prevent these issues , keeping your showerhead functional and ensuring consistent water flow.
Signs Your Showerhead Needs Cleaning

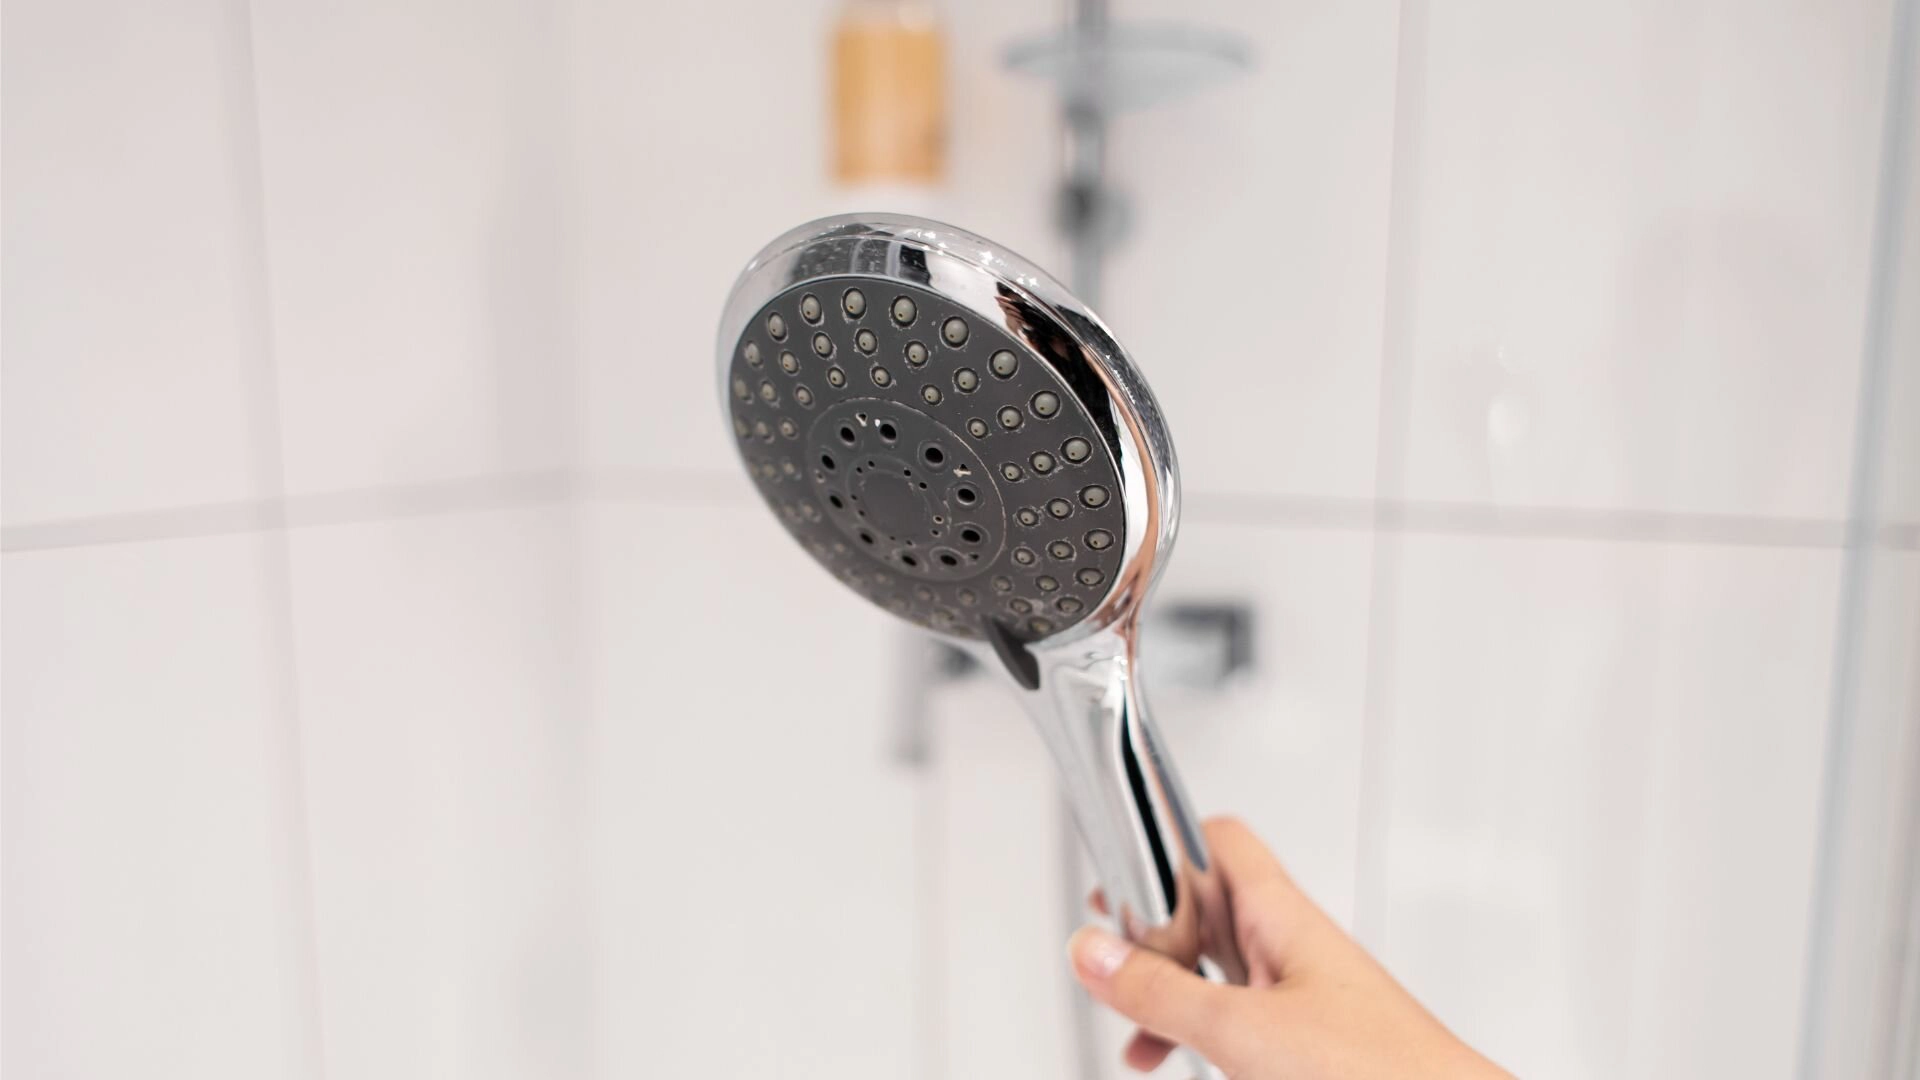
A clean showerhead is essential for a refreshing and invigorating shower experience. However, mineral deposits can gradually accumulate on the surface and within the nozzles, leading to various issues. Look for these telltale signs that indicate your showerhead requires attention.
One of the most apparent visual signs is the presence of white or greenish deposits on the showerhead. These deposits, often caused by hard water, can create an unsightly appearance and hinder the showerhead.
Performance issues are another clear indication that your showerhead needs cleaning. If you notice a significant reduction in water pressure, an uneven spray pattern, or clogged nozzles that result in weak or erratic water flow, it’s time to take action. These problems can be frustrating and diminish the overall quality of your shower.
Sometimes, you may hear odd sounds from your showerhead, such as whistling or squealing. These sounds often occur due to mineral build-up obstructing the water flow, disturbing the showerhead’s normal functioning.
Tools and Materials You Will Need
Before cleaning your showerhead, gather the necessary tools and materials to ensure a smooth and efficient process. Here’s what you need
- White Vinegar: White vinegar is the most effective option for cleaning mineral deposits. Its acidity helps dissolve the build-up without damaging the showerhead.
- Plastic Bag: Choose a plastic bag that is large enough to cover your showerhead completely. A sturdy, transparent suitcase will allow you to see the cleaning process.
- Elastic Bands or Twist Ties: These will secure the plastic bag around the showerhead, ensuring the vinegar stays in contact with the surface.
- Baking Soda (optional): You can create a paste by mixing baking soda with water for tough stains or stubborn deposits. This abrasive paste can help scrub away the build-up.
- Toothbrush: An old toothbrush is perfect for scrubbing the showerhead and nozzles. Its small size and bristles can effectively remove deposits from hard-to-reach areas.
- Needle or Toothpick: These tools can unclog individual nozzles blocked by mineral deposits. Gently insert the needle or toothpick into each nozzle to dislodge any build-up.
Consider using a commercial showerhead cleaner if you prefer a more convenient option . These products are designed to tackle mineral deposits and can be a quick and easy solution. However, follow the manufacturer’s instructions carefully and ensure the cleaner suits your showerhead material.
Step-by-Step Method to Clean Your Showerhead

Detach and Inspect
Begin the cleaning process by detaching the showerhead from the shower arm. This allows for a more thorough cleaning. However, if your showerhead is fixed and cannot be removed easily, don’t worry; it can still be effectively cleaned.
Soak the Showerhead
For a detachable showerhead, fill a bowl with white vinegar and completely immerse the showerhead in the solution. Allow it to soak for at least 30 minutes. Consider leaving it to soak overnight for tougher mineral deposits for best results.
If your showerhead is attached, fill a plastic bag with white vinegar and carefully secure it around the showerhead using an elastic band or twist tie. Ensure that the showerhead is fully submerged in the vinegar. Leave the bag in place for at least 30 minutes or longer for more stubborn build-up.
Scrub and Remove Deposits
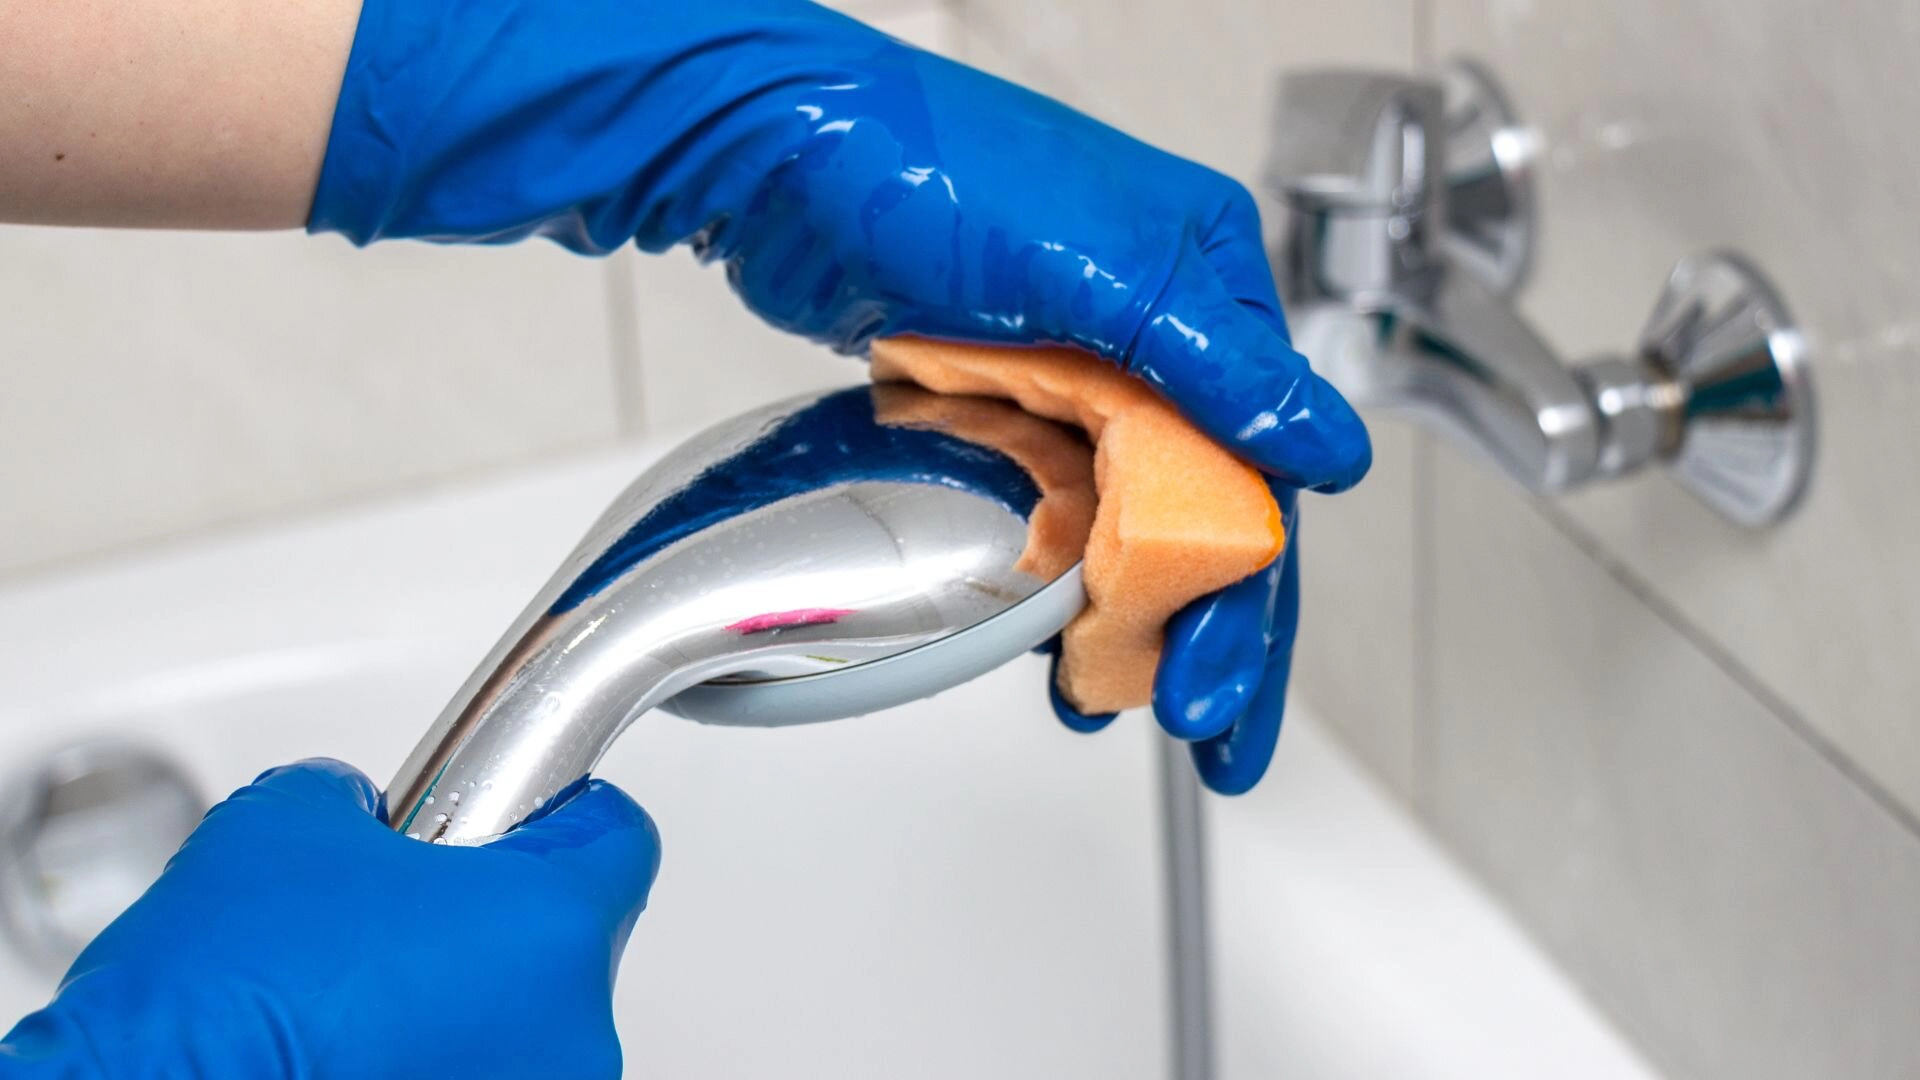
After soaking, remove the showerhead from the vinegar solution or take off the plastic bag. Use an old toothbrush to gently scrub away any visible deposits on the surface and around the nozzles. Pay extra attention to areas with significant build-up, using the bristles to dislodge and remove the deposits.
Use a Needle to Unclog Nozzles
If you notice that some of the nozzles are still clogged or have restricted water flow, use a needle or toothpick to clear the openings gently. Insert the tool into each affected nozzle and carefully wiggle it to break up and remove any remaining deposits.
Rinse and Reattach
Once you’ve scrubbed and unclogged, rinse the showerhead thoroughly with warm water. This will help remove any leftover vinegar and loosened deposits. If you detached the showerhead, reattach it securely to the shower arm. Turn on the water and test the flow, ensuring that all nozzles function correctly and the water pressure has improved.
Removing Heavy Limescale and Stubborn Deposits
In some cases, mineral deposits can accumulate heavily, forming stubborn limescale that requires extra attention . Here are a few methods to tackle those challenging buildups:
Vinegar and Baking Soda
Combine vinegar and baking soda to create a paste for extremely tough limescale. Apply this mixture directly to the affected areas of the showerhead. Allow the paste to sit for 30 minutes to penetrate and loosen the deposits. Afterwards, use a toothbrush to scrub the surface vigorously, breaking down the limescale. Rinse the showerhead thoroughly with warm water to remove any residue.
Commercial Descalers
Consider using a powerful commercial descaling product if the limescale proves exceptionally stubborn. These specialised solutions are formulated to dissolve heavy mineral buildups effectively. Always follow the manufacturer’s instructions carefully, as the application process may vary. After using the descaler, rinse the showerhead extensively to eliminate any chemical residue.
Lemon Juice Option
For those who prefer a natural approach, lemon juice is an effective acidic solution for loosening heavy deposits. Simply soak the showerhead in undiluted lemon juice or apply it directly to the affected areas. Let the lemon juice work its magic for about an hour before scrubbing it with a toothbrush. Rinse the showerhead well to remove any remaining lemon juice and loosened deposits.
Choosing the Best Cleaner for Showerhead Buildup
When selecting a cleaner for your showerhead, you have various options at your disposal. Consider the following factors to make an informed decision:
Natural vs. Commercial Cleaners
Natural solutions like vinegar, baking soda, and lemon juice offer a more environmentally friendly approach to cleaning. They are readily available and often gentler on the showerhead; they may require longer soaking times and more elbow grease for stubborn deposits. On the other hand, commercial cleaners are formulated to tackle tough build-up quickly but may contain harsher chemicals.
Safety Considerations
Natural cleaners are safer if you have sensitive skin or prefer to avoid harsh chemicals. They are less likely to cause irritation or allergic reactions. Always ensure proper ventilation and wear gloves to protect your skin when using commercial cleaners. Thoroughly rinse the showerhead after cleaning to remove any residual chemicals that could come into contact with your skin.
Recommendations
White vinegar is a reliable and effective solution for most cleaning tasks. Its acidity helps dissolve mineral deposits without damaging the showerhead. However, if you encounter exceptionally stubborn build-up, a commercial descaler may be necessary to break down the deposits effectively. Always read the product labels and follow the manufacturer’s instructions for the best results.
How to Dissolve Calcium Deposits in the Shower
Calcium deposits can be particularly stubborn and unsightly in the shower. Luckily, there are effective ways to dissolve these buildups and restore your shower’s showers.
Acid-Based Solutions
Due to their acidic properties, white vinegar and lemon juice are highly effective in tackling calcium deposits. These natural solutions can break down the calcium build-up without harming the surfaces of your shower. Simply apply the chosen acid directly to the affected areas and let it work its magic.
Step-by-Step Instructions
Start by soaking a cloth or sponge in white vinegar or lemon juice to dissolve calcium deposits. Apply the soaked cloth directly onto the calcium build-up and allow it to sit for several minutes. You may need to leave the acid in contact longer for more challenging deposits. After soaking, use a gentle scrubbing motion to loosen the deposits. Rinse the area thoroughly with water to remove any remaining acid and calcium residue.
Alternative Products
In addition to natural acids, specialised household descalers are formulated specifically for removing calcium deposits. These products often contain stronger acids that can efficiently dissolve stubborn buildups. Always read the product labels carefully and follow the manufacturer’s instructions for safe and effective use.
Preventing Future Mineral Build-Up

Keeping your showerhead free from mineral deposits is an ongoing process. By implementing a few simple preventive measures, you can significantly reduce the frequency and severity of build-up. Here are some tips to keep your showerhead in top condition :
- Regular Cleaning Routine: Establish a monthly cleaning habit of soaking your showerhead in white vinegar. This regular maintenance will help prevent mineral deposits from accumulating and becoming harder to remove. Consistency is vital to keeping your showerhead clean and functioning optimally.
- Install a Water Softener: If you live in an area with hard water, consider installing a water softener system. Water softeners remove excess minerals from the water supply, reducing mineral content. This can significantly decrease the build-up on your showerhead and other plumbing fixtures throughout your home.
- Wipe After Each Use: To minimise mineral accumulation between deep cleanings, make it a habit to wipe down your showerhead with a soft cloth after each use. This simple step helps remove any water droplets or residue contributing to build-up over time. Keeping the showerhead dry can also prevent the growth of mould and mildew.
Keep Your Shower Flowing Fresh
Keeping your showerhead free from mineral deposits means a cleaner, more enjoyable shower. Consistent maintenance will help prevent build-up and ensure proper water flow for the long term.
If you’re experiencing ongoing issues, mineral build-up may not be the only problem. Service First Plumbing offers professional showerhead leak repair and maintenance services. in keeping your plumbing fixtures in perfect condition. Don’t hesitate to seek help from trusted professionals.