Easiest Ways to Replace Your Showerhead
Upgrading your showerhead is easier than you think! Follow this straightforward, step-by-step guide to replace your showerhead in no time. From choosing the right tools to completing the installation, we cover everything you need to know for a hassle-free DIY project.
Did you know that the average family could save 2,700 gallons of water per year by installing WaterSense-labeled showerheads?
In Australia, the trend of DIY home improvements is on the rise as more homeowners take on projects to enhance their living spaces. A simple task like replacing a showerhead can significantly improve both the aesthetics and functionality of your bathroom.
This guide is crafted for those eager to embark on this straightforward project, providing clear, step-by-step instructions. Whether you’re upgrading for a sleek design or better water efficiency, this is a rewarding and impactful change. Let’s explore how you can transform your bathroom with just a small effort.
Tools and Materials Needed
To successfully replace your showerhead, you’ll need a few essential tools and materials:
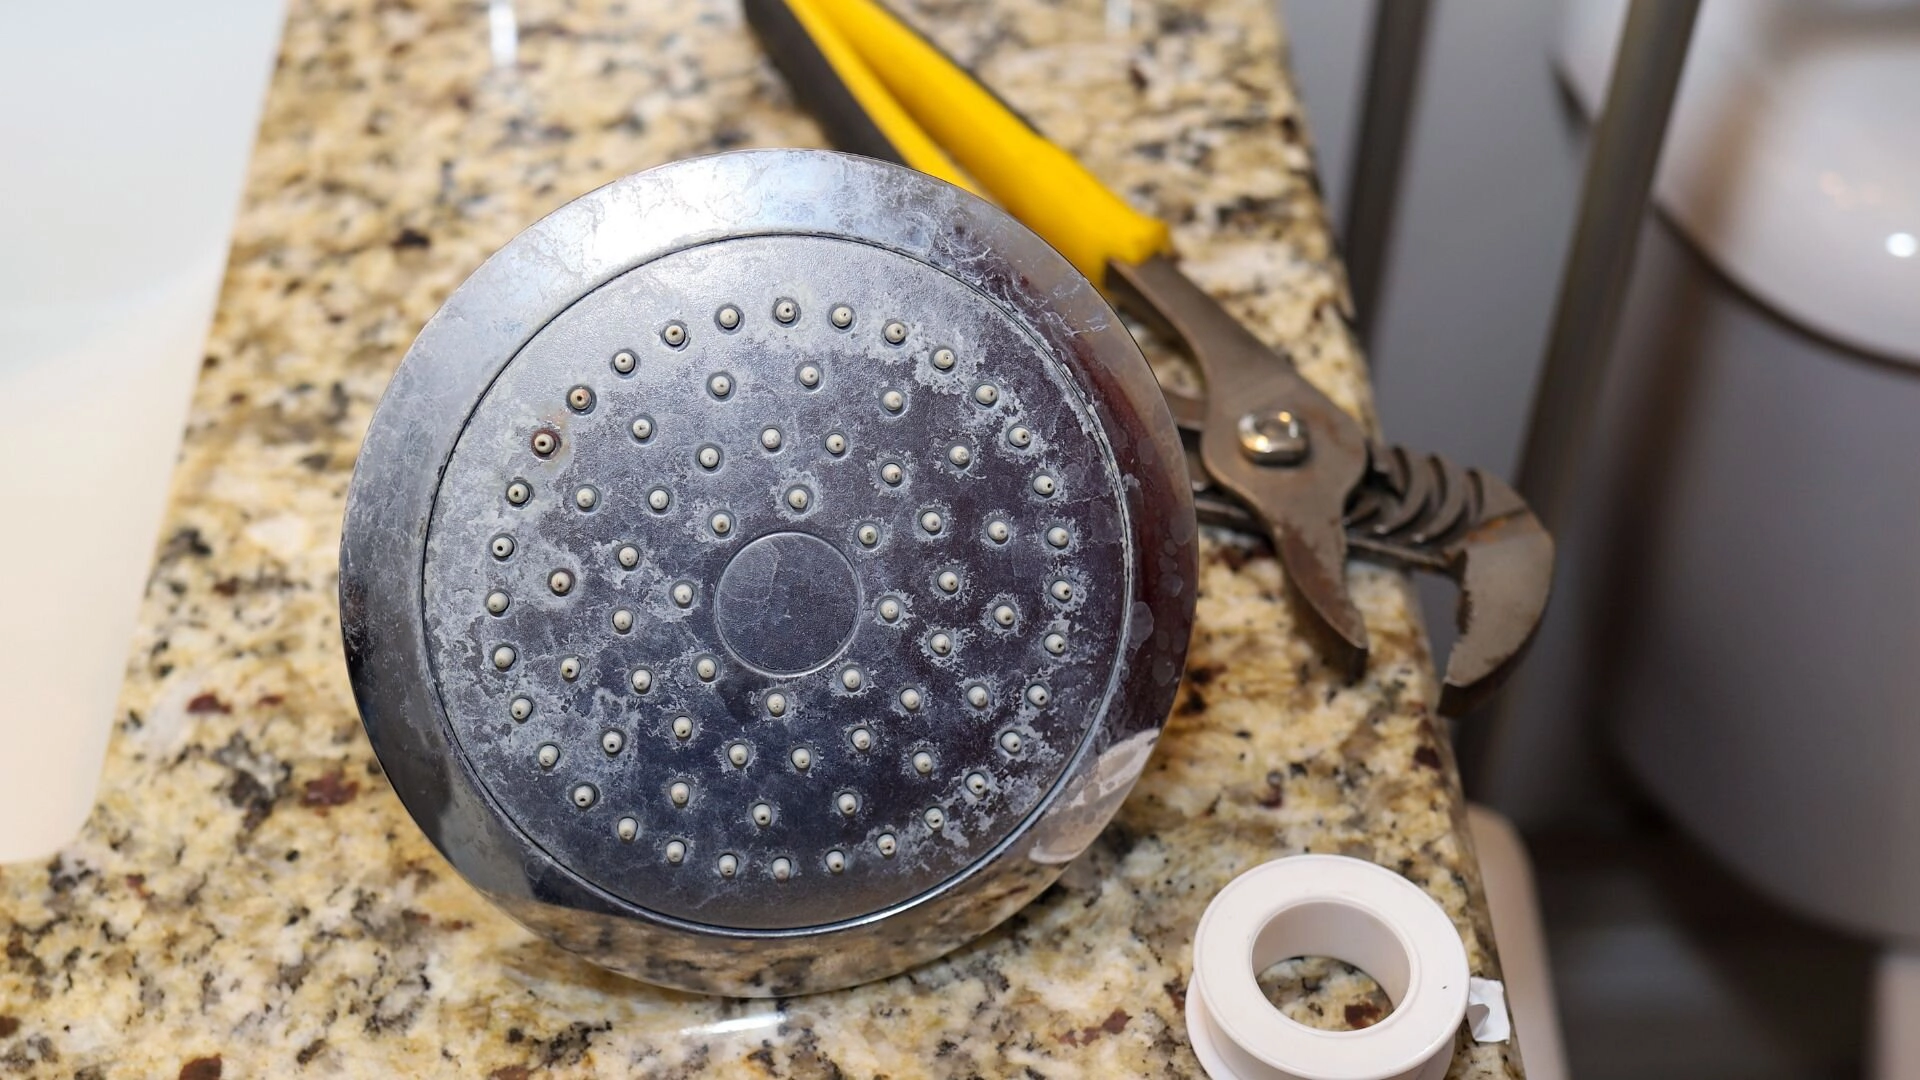
- Adjustable Wrench : This is crucial for loosening and tightening the showerhead without damaging it. Its adjustable nature allows it to fit various sizes.
- Plumber’s Tape (Teflon Tape) : Wrap this around the shower arm threads to ensure a watertight seal and prevent leaks.
- New Showerhead : Choose one that suits your style and water efficiency needs. This is the focal point of the project.
- Soft Cloth or Rag : Use this to protect the showerhead’s finish when using the wrench, avoiding scratches or damage.
- Bucket or Towel : Place these in the shower to catch any drips or debris during the installation process.
Having these tools and materials ready will ensure you feel prepared and confident as you begin your bathroom upgrade.

Step 1: Remove the Old Showerhead
To start, ensure your shower area is ready for the task. While it’s usually not necessary to turn off the main water supply, you can turn off the shower valves to prevent any accidental sprays.
- Wrap a soft cloth around the shower arm and old showerhead. This will protect the metal finish from scratches when you use the wrench.
- Adjust the wrench to fit snugly around the base of the old showerhead. Turn counterclockwise to unscrew it. If it’s tight, apply steady pressure to avoid damaging the plumbing.
- If the showerhead is stuck due to corrosion, apply a penetrating lubricant like WD-40. Let it sit for a few minutes to loosen the rust.
- Once loosened, remove the showerhead by hand to avoid dropping it and damaging the tub or tiles.
- Check for any old plumber’s tape or debris on the threads. Clean thoroughly to ensure a smooth installation of the new showerhead.
Step 2: Clean the Shower Arm
Cleaning the shower arm is a crucial step to ensure a proper fit for your new showerhead. A clean surface helps prevent leaks and ensures a secure installation.
- Carefully peel off any old plumber’s tape from the shower arm’s threads. If not properly removed, this tape can interfere with the new seal.
- Mineral deposits can build up on the shower arm threads over time. To wipe away any residue, use a soft cloth and a gentle cleaner, like vinegar or a mild bathroom cleaner. Soak the cloth in the cleaner and wrap it around the threads, letting it sit for a few minutes to loosen deposits.
- Use the cloth to gently scrub the threads, ensuring all debris and buildup are removed. Avoid using abrasive materials that could scratch the metal.
- Once clean, rinse the shower arm with water and dry it thoroughly with a clean cloth. This ensures no moisture remains, which could affect the new installation.
Step 3: Apply New Plumber’s Tape
Applying plumber’s tape correctly is essential for creating a watertight seal and preventing leaks.
- Use Teflon tape , also known as plumber’s tape, which is specifically designed for plumbing applications.
- Start at the base of the shower arm threads. Wrap the tape clockwise, following the direction in which the new showerhead will be screwed on. This ensures the tape doesn’t unravel during installation.
- Wrap the tape around the threads two to three times . Ensure it covers all the threads but doesn’t extend beyond them. This provides optimal sealing without excess bulk.
- Press the tape into the threads with your fingers to ensure it adheres well and forms a smooth surface.
Step 4: Install the New Showerhead
Installing your new showerhead is a straightforward process that can transform your shower experience.
- Align the new showerhead with the shower arm threads. Make sure it’s straight to avoid cross-threading, which can damage both the showerhead and the arm.
- Begin by screwing the showerhead onto the shower arm by hand. Turn it clockwise until it’s snug. Hand-tightening ensures you have control and prevents initial damage.
- Wrap a soft cloth around the base of the showerhead to protect its finish. Use an adjustable wrench to tighten it slightly further. Apply gentle pressure and turn about a quarter to a half turn past hand-tightened.
- Be cautious not to over-tighten , as this can crack the showerhead or damage the arm threads. Over-tightening may also lead to leaks rather than preventing them.
- Turn on the water gently to test for leaks. If you notice any, slightly tighten the showerhead further by hand.
Step 5: Test for Leaks and Adjust
Now that your new showerhead is installed, it’s time to ensure everything is functioning perfectly.
- Slowly turn the water supply back on. Start with low pressure to check for any immediate leaks.
- Observe the connection between the showerhead and the shower arm. If you notice any drips, try tightening the showerhead slightly by hand.
- Troubleshoot Common Issues:
- If drips persist, remove the showerhead and reapply plumber’s tape, ensuring it covers all threads.
- Check for debris inside the showerhead. Rinse it under water to clear any blockages.
- Position the showerhead to your preferred angle for optimal water coverage and comfort.
Tips for Choosing the Right Showerhead

When selecting a showerhead, consider both design and functionality to meet your household’s needs.
- Assess your home’s water pressure. Some showerheads are designed for low-pressure systems , ensuring a satisfying shower without compromising flow.
- Explore different spray patterns, such as rain, massage, or mist. Choose one that suits your preference and enhances your shower experience.
- Look for WaterSense labeled showerheads , which conserve water and reduce utility bills . These are widely available in Australia and help save water without sacrificing performance.
- Match the showerhead’s design with your bathroom’s decor . Options range from sleek, modern designs to classic styles, ensuring a cohesive look.
- Consider showerheads with adjustable settings for versatility, allowing each household member to customise their shower.
Final Touches: Enhancing Your Bathroom Experience
To complement your new showerhead, consider adding a stylish shower caddy to organise bath essentials.
Install a water-saving device, like a flow regulator, to maximise efficiency. Upgrade your shower curtain or add a glass door for a modern touch.
Consider eco-friendly LED lighting to enhance ambience and save energy. For a spa-like feel, incorporate aromatic diffusers or waterproof speakers. These simple upgrades can transform your bathroom into a relaxing oasis, providing a complete refresh that combines functionality with style.
Contact Us for Professional Assistance
Replacing a showerhead is a simple and rewarding DIY project that can dramatically enhance both the functionality and aesthetics of your bathroom. By following our step-by-step guide, you can confidently complete this task, improving water efficiency and elevating your shower experience. From selecting the perfect showerhead to ensuring a watertight seal, each step is designed to help you achieve professional results with ease.
However, if you encounter any challenges or require additional electrical work, it’s wise to seek professional assistance. For those in Sydney, Service First Plumbing is a reliable choice, offering expert services like Showerhead Leaks to ensure your home improvement projects are completed safely and efficiently. By combining your DIY efforts with professional support when necessary, you can ensure a seamless and successful bathroom upgrade.
So !