How to Install a Water Softener
Get step-by-step instructions on how to install a water softener system in your home. Everything you need to know about replacing old hard water with softer and healthier options!
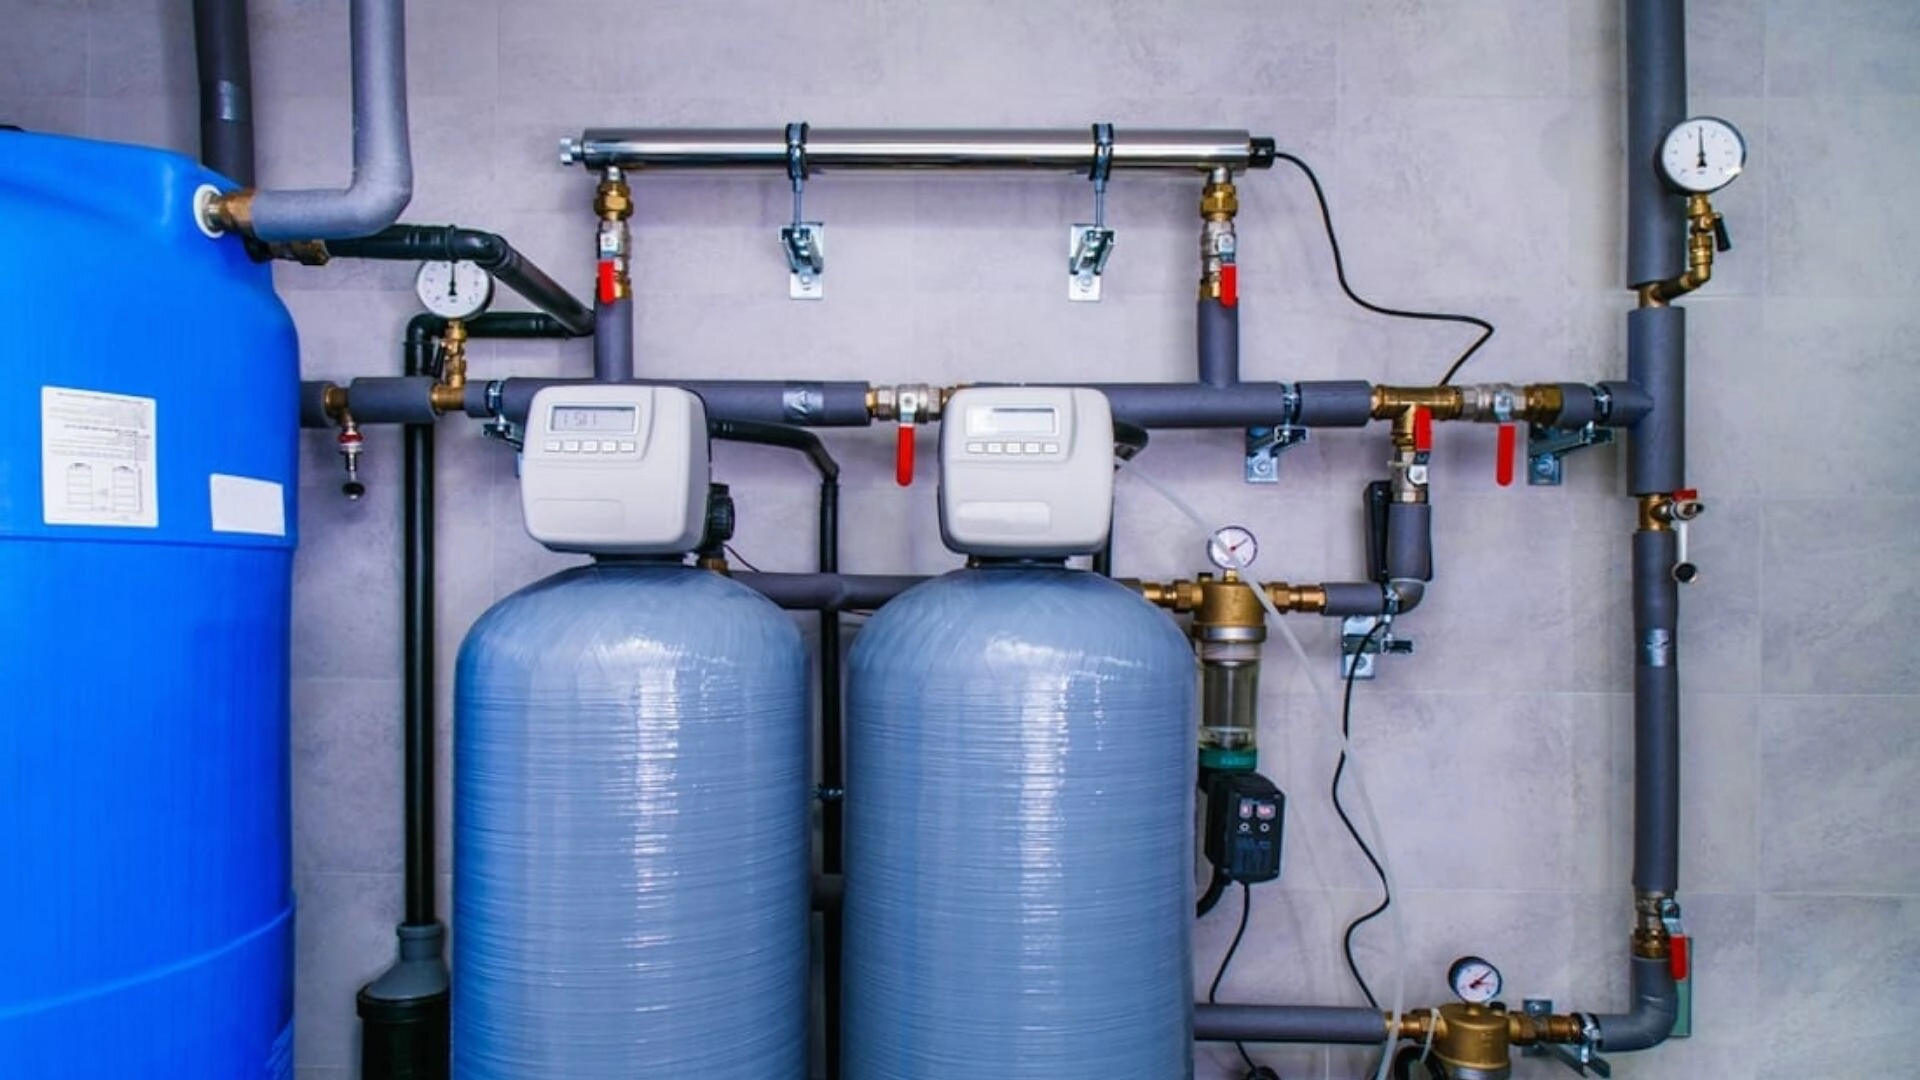
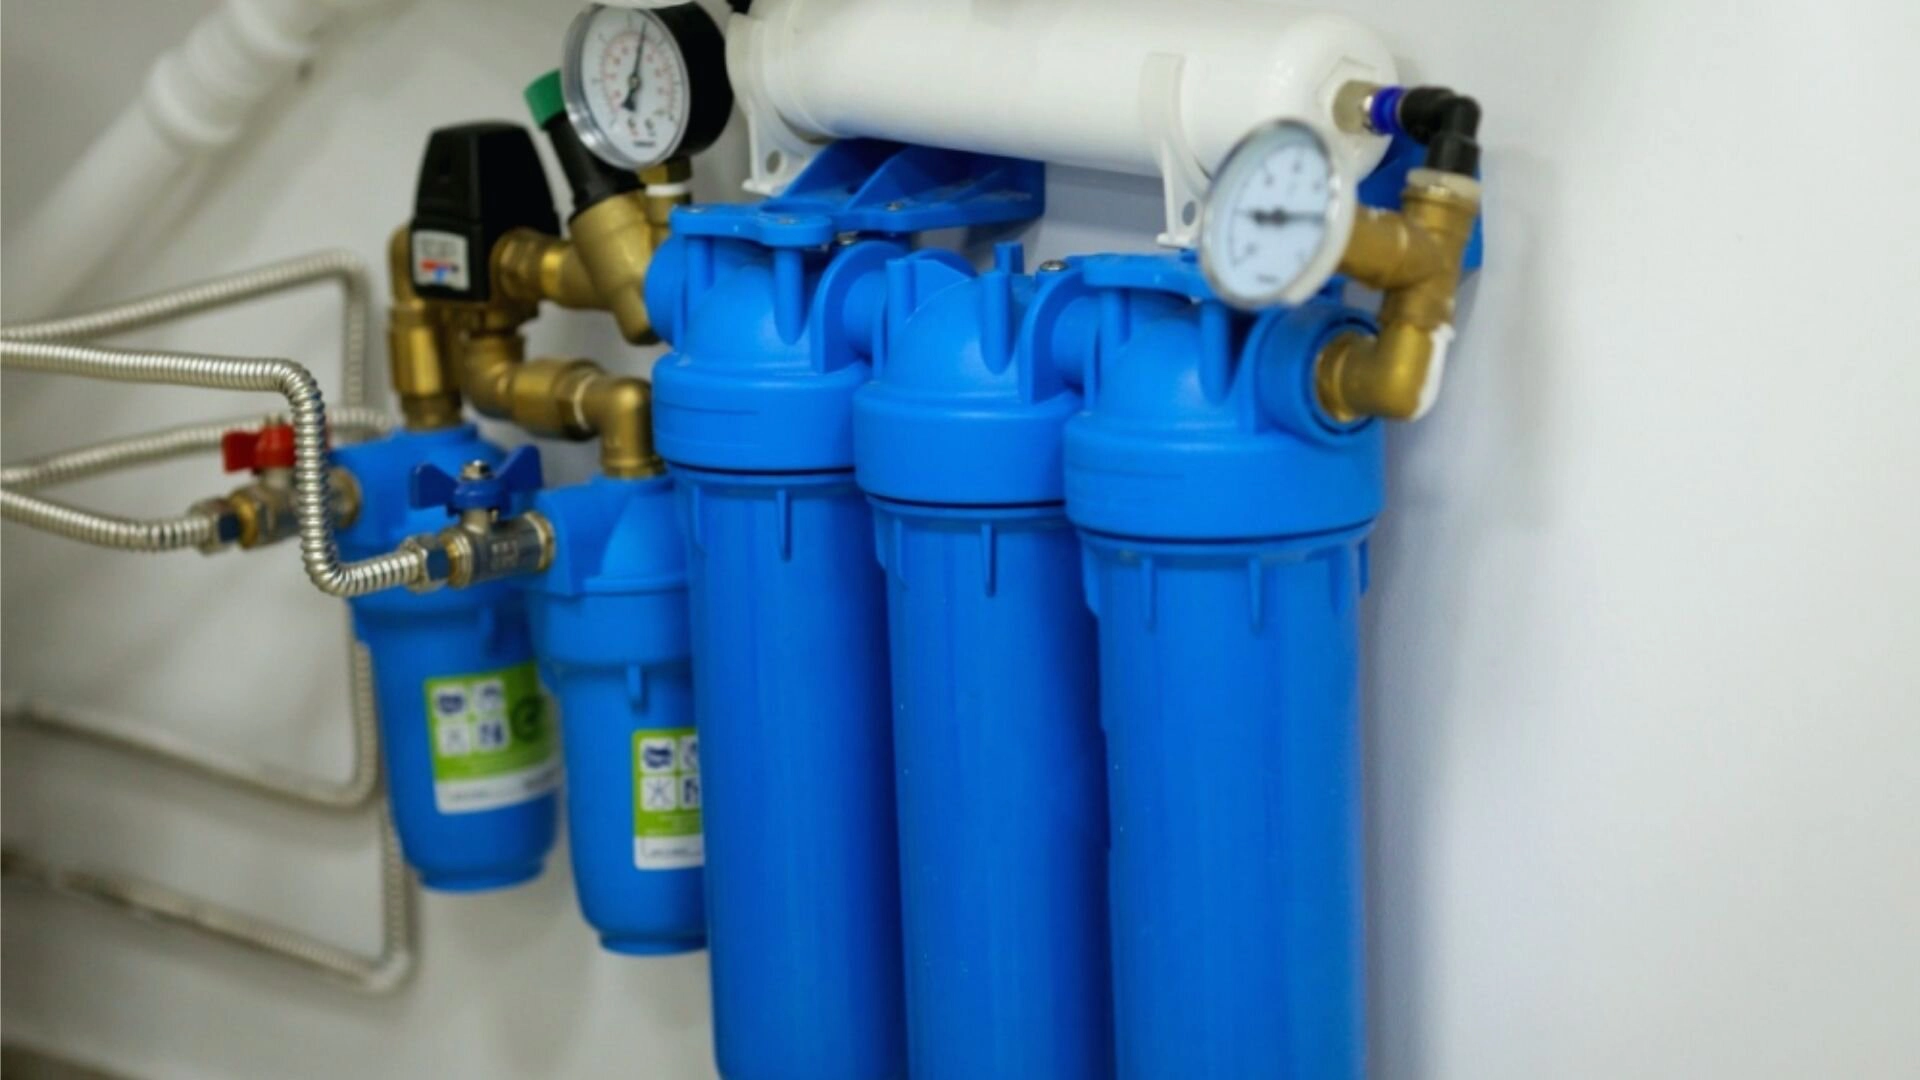
A water softener effectively processes ‘hard water’ straight from its source. It removes excess minerals, focusing on calcium and magnesium, demonstrating how a water softener removes minerals.
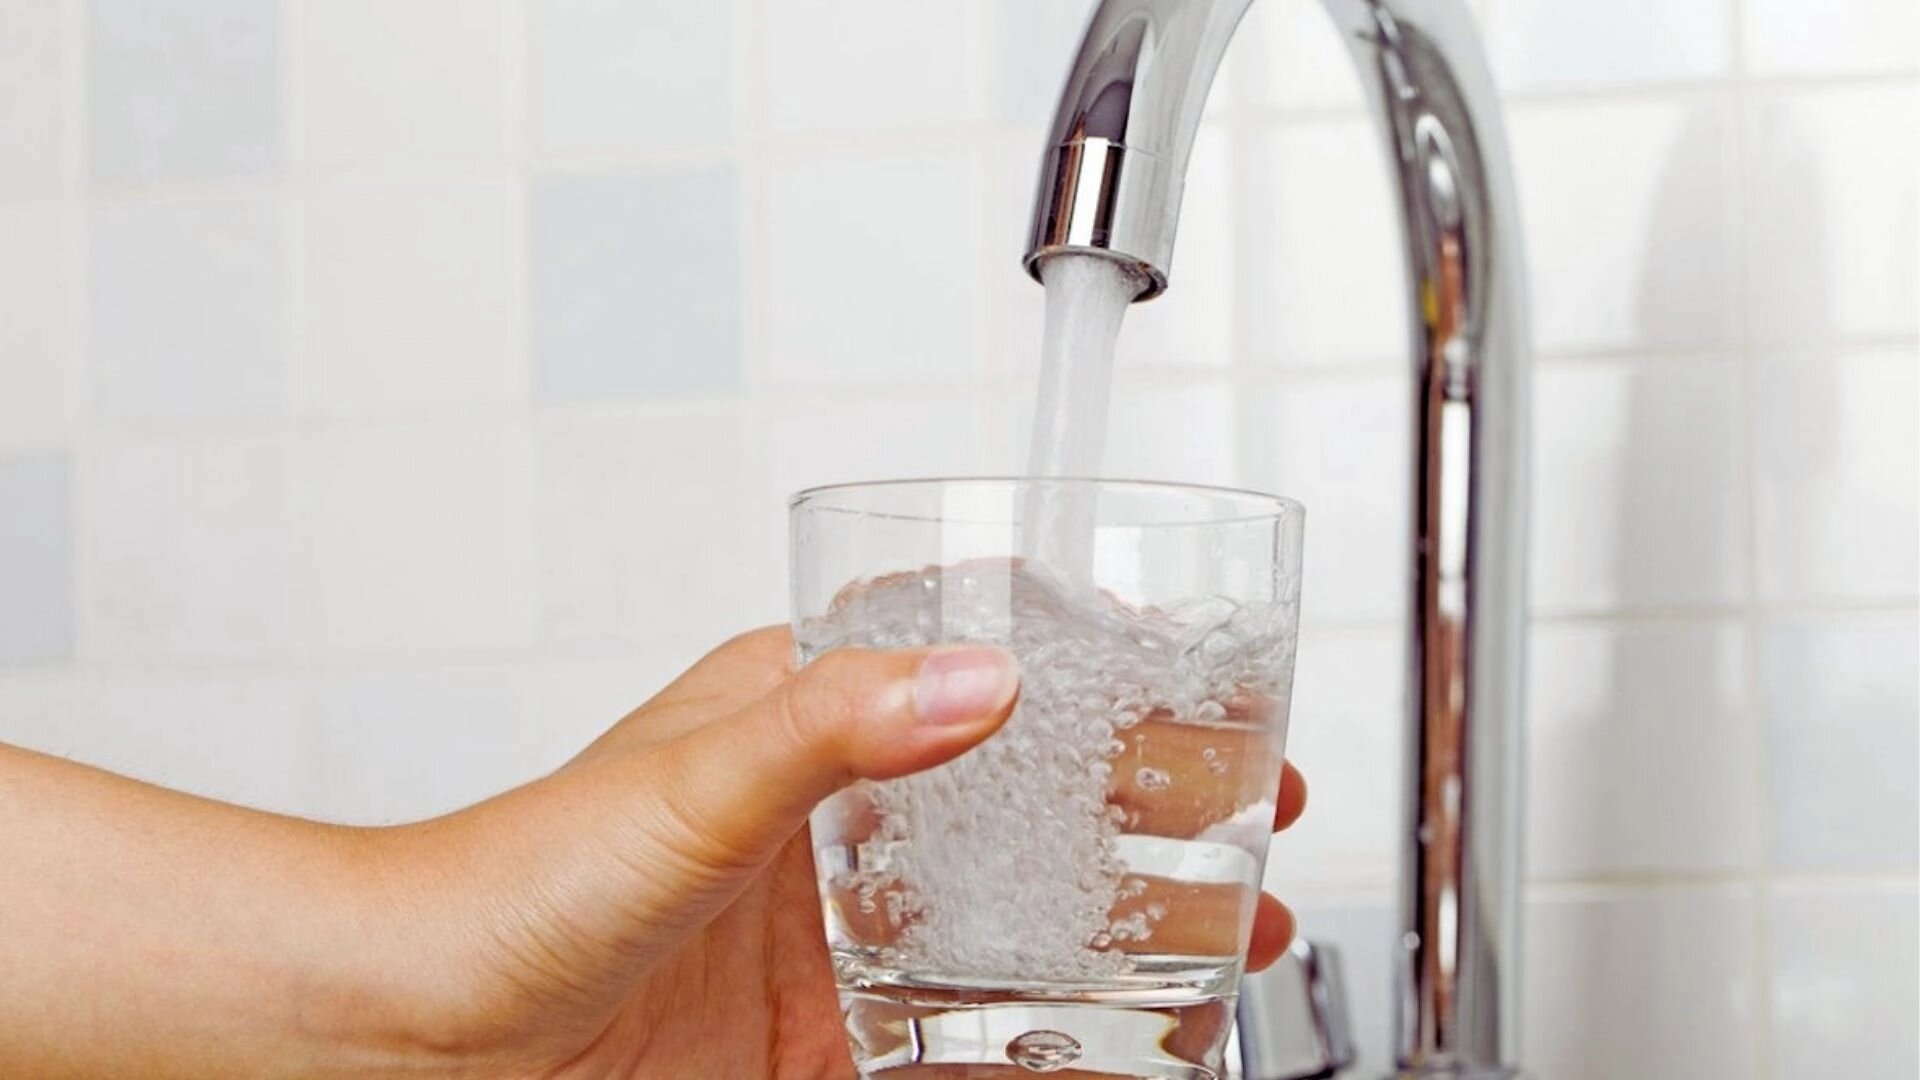
Hard water can be a serious issue affecting the various elements of your home. It can damage appliances and plumbing pipes, change the taste of the water, affect sensitive clothing when washed with it, and harm your skin.
Typically, your water supply will always contain a certain amount of minerals, which are mostly harmless and don’t require a solution. However, an elevated mineral content necessitates a water softener installation to mitigate its adverse impacts.
That’s why we created a beginner-friendly step-by-step guide to installing a water softener in your water supply system.
When Should You Install Water Softener

In recent times, installing a water softener, even when it’s not required, has become a trend. So, most state health departments have strictly ruled that water softeners should be installed only if the mineral content exceeds seven grains per litre . This has helped prevent misinformation and unnecessary, unlawful plumbing practices.
Transforming hard water into soft water can enhance its flavour, inhibit scale accumulation on pipes, and decrease watermarks on clothes and dishes, rendering it safe for consumption and use. However, water softening can also increase copper, lead, and sodium levels in drinking water and erode pipes. This can cause your pipes to become blocked or burst. Plus, it can spread high sodium levels into the environment through sewer pipes.
So, it’s highly advisable to check if the water supply needs softening and weigh the pros and cons before installation.
How To Install A Water Softener
Tools You Need
- Adjustable wrench
- Screwdriver
- Channel-lock pliers
- Hacksaw (if required)
- Tape measure
- Propane torch (if required)
- Water softener (including bypass valve)
- Supply tubes
- Pipe clamps
- Drain tubing with a ½-inch diameter
- Pipe fittings
- Flux and solder (if required)
- Air gap fitting (if required)
Installing A Water Softener: Step-By-Step Guide

Step 1
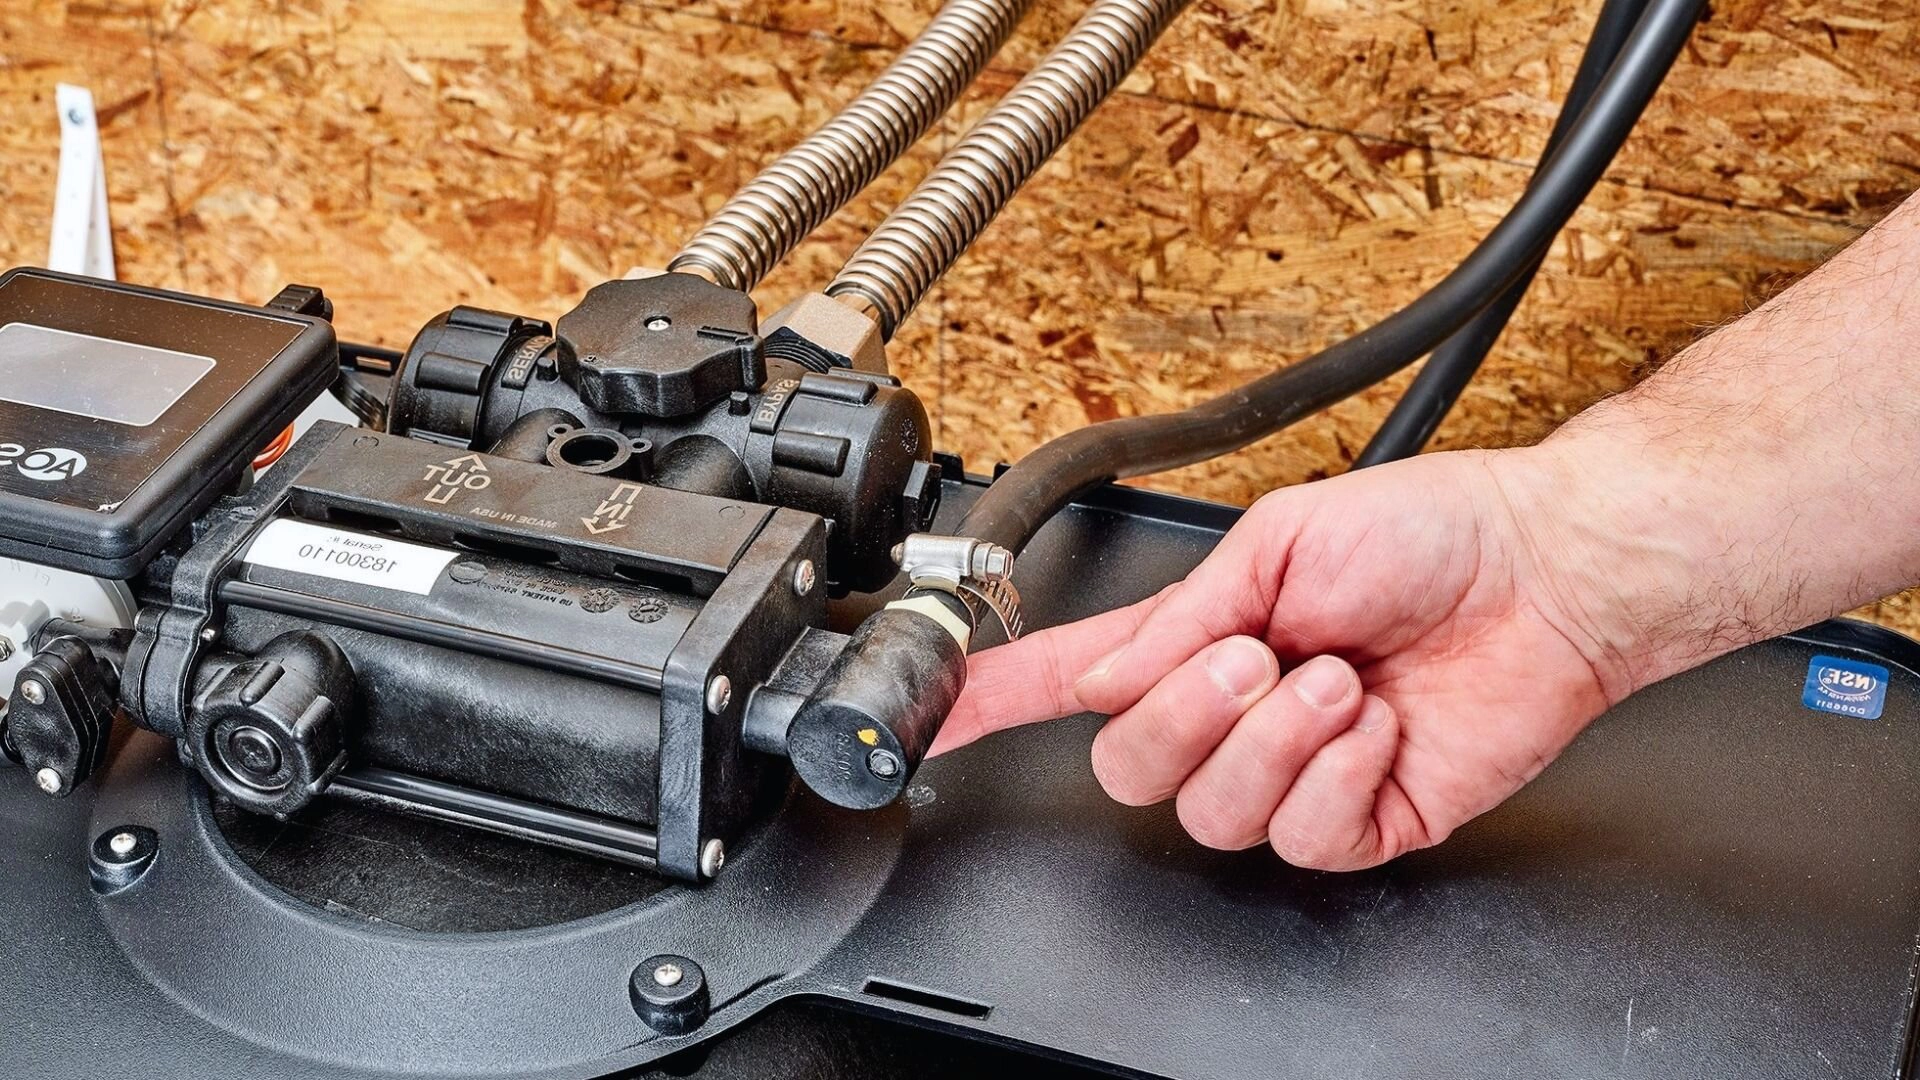
Install the bypass valve into the back of the water softener, using the clips on the valves to ensure it’s secured well. This valve helps to stop the water supply to the softener during repairs or when it needs to be shut down.
Step 2
Link the softener to the water supply line with one of two strategies: directly connect it to your home’s system or utilise flexible supply tubes typically employed during hot water heater installation. We recommend using supply tubes since they are loose and easily removed.
Before installing the tubes into the softener, shut off the supply line and drain any remaining water . Then, cut out a section of the supply pipe and install adapters to better secure the tube fittings. If you have traditional copper pipes, we suggest using push-fit fittings that don’t require soldering.
After installing the adapters, connect the supply tubes to the water pipes and attach them to the back of the softener. Here, you must check the instructions given by the manufacturer for this step . Ensure the supply side pipe is connected to the inlet port of the water softener and the house side pipe is connected to the outlet port. Once everything is in place, tighten the fittings using an adjustable wrench or pliers.
Step 3
Next, you need to connect the tanks using the supply tubes. Most water softeners have two tanks - one is a brine tank, and the other is a mineral tank. Both tanks work together to remove impurities and minerals from water, so they must be connected carefully.
Connect the tanks and secure them with hose clamps using the tubes that come with the softener.
Step 4
Water softeners also have two drain tubes; however, they shouldn’t be connected since the wastewater needs to go to the home drain. While one of the drain tubes connects the softener to the control valve and helps expel backwash water, the other acts as an overflow drain and connects to the brink tank.
Depending on your preference and home layout, you can connect these two tubes to different drains. You can run them to the floor drain in the bathroom or extend them into the standpipe that drains the washer. Connecting them to the sump pit or utility sink is also an option.
In addition, some places prohibit connecting the water softener drain to your main drainage system without installing an air gap. An air gap effectively prevents back-syphoning and helps keep the contaminated drain water away from the softener. You can quickly achieve this using designated air gap fittings while connecting the drain pipes to the standpipe.
Firstly, securely fasten an ½ inch (diameter) of drain tubing to the drain line elbows of the brine tank and control valve using hose clamps. Then, run the drain tubes to your preferred drain location or standpipe. During this step, we suggest attaching the drain tubes to an air gap fitting and anchoring it to the bathroom or sink drain .

Step 5
After finishing the drain, turn on the main shutoff valve to kick-start your home’s water supply. However, it would be best to be careful not to let the pipes fill with water too quickly, as that can put sudden pressure on them and damage them. Initiate a tap connected to the cold water line in any part of the house, and gradually allow the pipes to refill.
Then, plug in the softener and follow the start-up steps mentioned in the instruction manual. Set the time and water hardness level. Moreover, water softeners typically need a specific water softener salt, such as potassium chloride, before initiating the system. So, check the manual and see the type and quantity of salt the manufacturer recommends.
Step 6
Finally, follow the manufacturer’s instructions and run a backwash cycle on the water softener. This removes air from the softener and helps it function efficiently. During backwashing, remember to check for leaks. When you’re done, check the water level in the brine tank and make your preferred adjustments.

Installing a Water Softener
Installing a water softener can help you avoid consuming heavily saturated water, thereby preventing harmful effects on your health. However, you must test your potable water supply before installation to check whether a water softener is required since they’re pretty expensive.
Such water testing is best carried out by professional plumbers who will accurately diagnose if your home has hard water and help you install a softener.
Service First Plumbing is a leading plumbing and gas company in Sydney that provides affordable services during plumbing and gas-related emergencies . Our highly experienced team of plumbers will quickly check your water supply and install a softener that perfectly caters to your home and its water capacity.