Did you know that one slowly dripping tap can waste more than a bucket of water each week? Imagine that multiplied across millions of Australian households—the wastage is staggering. Even more shocking, a visibly leaking tap can waste up to 18 buckets of water every single day. These seemingly small drips may not catch your attention right away, but they can silently add up to a significant waste of precious resources and a steep increase in your water bill.
Leaky taps and toilets are common issues faced by homeowners across Australia. A minor drip might seem harmless, but the financial and environmental costs quickly add up. Not only are you paying for water you aren’t using, but you’re also contributing to unnecessary strain on water supplies—a vital concern in a country that often faces water scarcity.
The good news? Fixing these leaks can be simpler than you think. Regularly maintaining your taps and replacing worn-out O-rings can save water and money and help the environment. In this article, we’ll explore how replacing an O-ring can make all the difference, ensuring your taps stay drip-free and your water bill stays under control.
A Guide to Replacing O-Rings in Household Taps
Leaking taps can be a common source of water wastage and high water bills. Understanding the components like O-rings, tap washers, and jumper valves can help you fix leaking taps effectively. Here, we provide a step-by-step guide to replacing O-rings in household taps.
What Are O-Rings and Their Role?
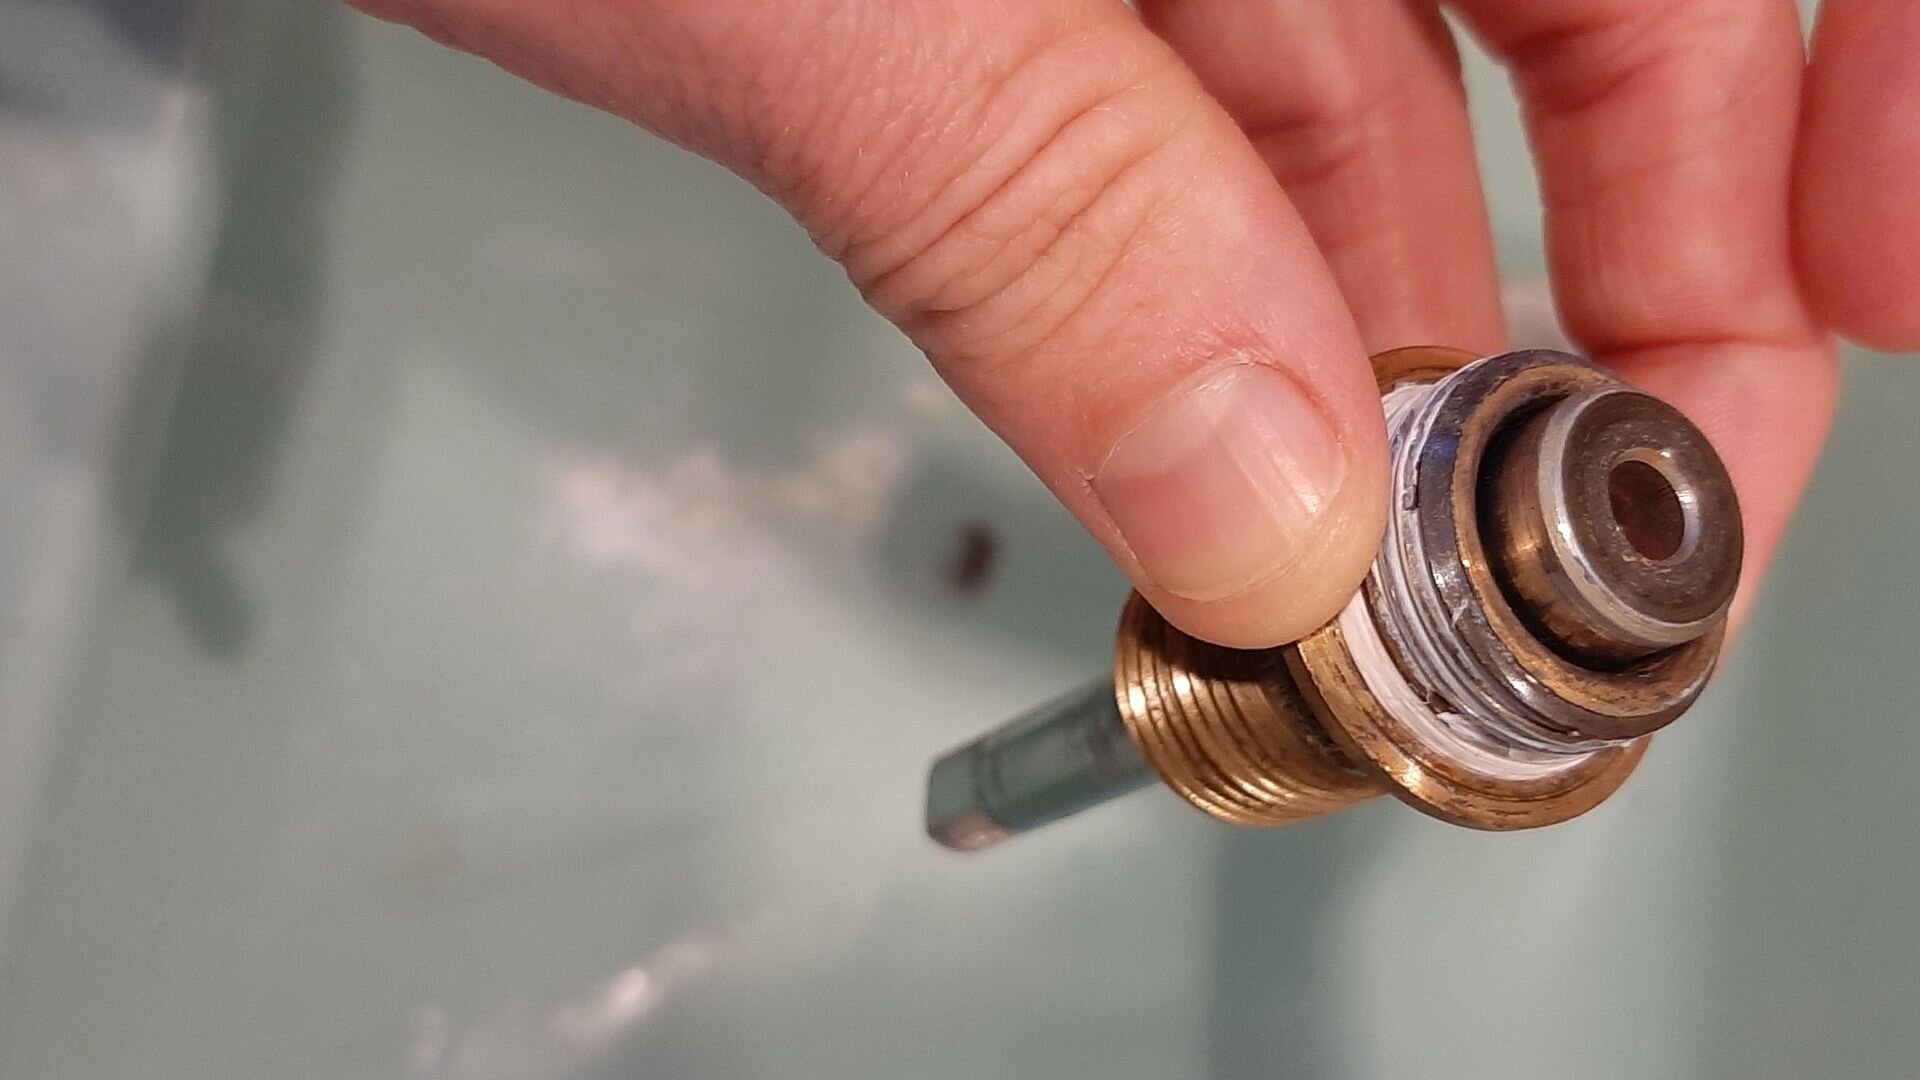
O-rings are small, circular rubber components that create a watertight seal within taps. They are essential in preventing tap leaks by ensuring smooth operation and preventing water flow from escaping unwanted areas. These rings are typically found around the tap stem, tap bonnet, and valve seat to maintain a tight seal.
O-rings can be made from various materials, including rubber and silicone. Rubber washers are the most common type used for household taps, offering durability and flexibility. Silicone grease can be applied to O-rings to ensure smooth operation and extend their lifespan. Different taps may require different types of O-rings based on their internal components, such as the tap body and tap handle.
Signs that an O-ring needs replacement include dripping taps, visible wear, mineral build-up, and a leaky tap even when the tap handle is fully turned off. Worn-out O-rings are often the cause of persistent leaks, and replacing them is a simple DIY fix that can prevent future leaks and reduce water bills.
Tools and Materials Required
To fix a leaking tap and replace O-rings, you will need several tools and materials:
- List of Tools: Tap spanner, flat head screwdriver, needle nose pliers, wrench, and tap lubricant.
- Materials Needed: Replacement O-rings, rubber washers, plumber’s tape, protective gloves, and silicone grease. Replacement washers, including jumper valves, tap washers, and body washers, may also be required if signs of wear are present.
- Safety Precautions: Before starting the repair process, always turn off the water supply using the isolation valve beneath the sink. Carefully remove the tap button or cover plate to access internal components, and make sure to drain any remaining water to avoid messes. Safety gloves can help protect your hands from sharp edges and mineral deposits.
Step-by-Step Guide to Replacing O-Rings

Step 1: Turn Off the Water Supply
Before starting any tap repairs, turning off the water supply is crucial. Locate the isolation valve beneath the sink and turn it off to prevent flooding. This will also help avoid unnecessary mess and ensure a smooth repair process.
Step 2: Remove the Tap Handle
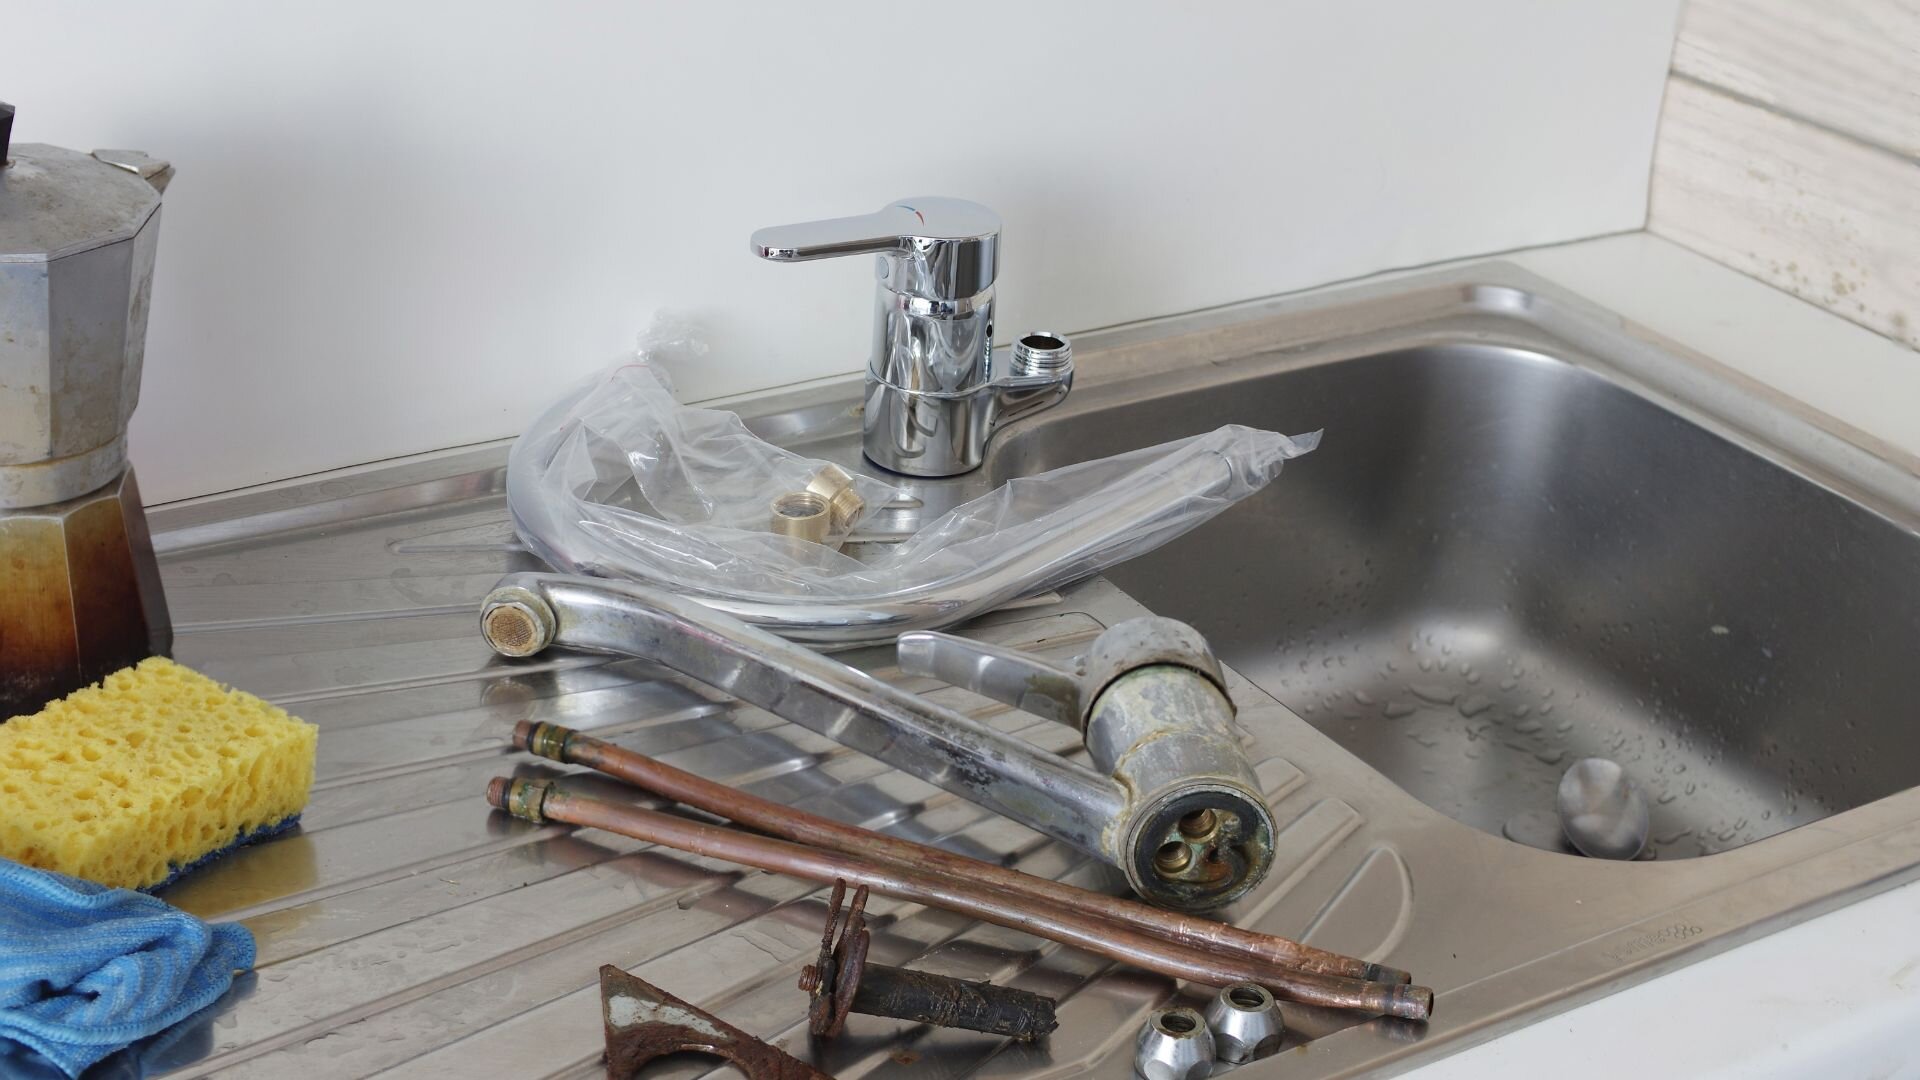
To remove the tap handle, first carefully pry off the decorative cap or tap button using a flat-head screwdriver. Once the cover plate is removed, use a screwdriver or wrench to unscrew and detach the handle. Be gentle during this process to avoid damaging the tap components, such as the tap bonnet or tap skirt.
Step 3: Extract the Valve
With the tap handle removed, you will need to extract the valve to access the O-ring. Use a wrench or tap spanner to unscrew the valve from the tap body. Once the valve is removed, inspect the valve seat, tap stem, and surrounding internal components for any signs of wear or mineral build-up that may contribute to leaking taps.
Step 4: Inspect and Remove the Old O-Ring
Examine the O-ring closely for signs of wear, such as cracks, flattening, or mineral deposits. A faulty O-ring is often the cause of dripping taps. Carefully remove the old O-ring using needle-nose pliers, taking care not to damage the surrounding tap components. If other parts, like the washer attached to the jumper valve, appear worn, consider replacing them as well.
Step 5: Install the New O-Ring
Select a new O-ring of the correct size from your local hardware store. Apply silicone grease to the O-ring to ensure a watertight seal and smooth operation. Place the O-ring in the same position as the old one, ensuring it sits snugly around the tap stem or valve seat. Replace washers, such as the rubber washer or washer and jumper valve, to ensure a complete repair.
Step 6: Reassemble the Tap and Test
Reassemble the tap by carefully reinserting the valve into the tap body and securing it with a wrench or tap spanner. Reattach the tap handle and cover plate, ensuring all parts are in the same position as before. Turn on the water supply using the isolation valve and test for any tap leaks. Check for other faulty components if the leak persists, such as a broken washer or worn-out washers. In some cases, it may be best to consult a professional plumber to address more complex plumbing problems.
Following this step-by-step guide to replacing O-rings in household taps, you can fix leaks, reduce water wastage, and avoid costly water bills. Regular tap maintenance and replacing worn-out components like O-rings, tap washers, and jumper valves are essential DIY skills for preventing plumbing problems and ensuring efficient water flow.
Troubleshooting Common Issues
Persistent Leaks
If a leaking tap persists after replacing the O-ring, it could be due to other faulty tap components. Check for a worn-out tap washer, a damaged tap skirt, or mineral deposits around the valve seat. Inspect the tap disassembled for signs of wear, such as a broken washer or body washer. Sometimes, a pressure regulator issue can also cause continued leaks.
Damage During Process
If parts are damaged during the repair process, such as a tap handle or tap body, replacements can be found at your local hardware store. A damaged jumper valve or old washer should be replaced to ensure a watertight seal and prevent further tap leaks. Always handle components carefully to avoid breakage.
Incorrect O-Ring Size
Using the wrong O-ring size can result in a leaking tap. Make sure to take the old O-ring to the hardware store to find an exact match. A properly fitting O-ring ensures a watertight seal and prevents future plumbing problems. If in doubt, consult a professional plumber for guidance on selecting the correct size.
Maintenance Tips for Prolonging Tap Life

Regular Inspections
To prevent a dripping tap or leaking tap, regularly inspect tap components for signs of wear. Look for a faulty O-ring, worn-out rubber washer, or any issues with the tap bonnet or tap skirt.
Proper Cleaning
Clean tap components to prevent mineral build-up, which can affect water flow and cause tap leaks. Use cold water and a soft cloth to wipe away deposits, and disassemble the tap if necessary to clean internal parts like the valve seat.
Timely Replacements
Replace worn parts, such as washers and jumper valves, promptly. A faulty or old washer can lead to leaking taps and higher water pressure issues. Keeping tap components in good condition will prolong the tap’s life and help maintain consistent water pressure.
Environmental and Financial Benefits
Water Conservation
Fixing a dripping tap or leaking tap has significant environmental benefits. By addressing tap leaks, you can conserve water—an essential resource, especially in drought-prone areas. Preventing water wastage helps protect the environment and ensures a sustainable water supply for future generations.
Cost Savings
Repairing tap leaks yourself can lead to considerable cost savings. DIY repairs, such as replacing O-rings and tap washers, are far more affordable than hiring a professional plumber. Additionally, reducing water wastage will result in lower water bills, providing financial benefits for households over time.
A Brighter Tap Future
Taking the time to repair leaking taps and replace worn-out components is a worthwhile investment in the efficiency of your home. By learning a few simple DIY skills, you can keep your taps in good working condition, prevent unnecessary water wastage, and maintain consistent water pressure.
For those who prefer a professional touch, Service First is here to help. As a trusted partner in plumbing solutions, we understand the importance of maintaining a well-functioning water supply and fixing tap leaks promptly.
If you’re dealing with a persistent leak or need assistance with tap repairs, contact Service First for expert tap leak services. Our skilled plumbers can ensure your taps are in top shape, helping you save water, reduce costs, and avoid future plumbing issues.


