How To Fix A Leaky Toilet Flapper
Have you noticed a leak in your ttoilet? Don’t let a leaky toilet flapper waste water and increase your bills. Our step-by-step guide will help you identify, test, and replace a leaking flapper, so you can enjoy a properly functioning, leak-free toilet.
A constantly running toilet is more than just an annoyance; it’s a common household problem that can waste a staggering amount of water and lead to skyrocketing utility bills. In many cases, the culprit behind this issue is a leaky toilet flapper, a small but essential component controlling the water flow from the tank to the bowl. If you’ve noticed your toilet tank refilling frequently, even when it hasn’t been flushed, or if you hear the telltale sound of water trickling into the bowl, your toilet flapper likely needs attention.
Fortunately, fixing a leaky toilet flapper is a relatively simple DIY project that most homeowners can tackle with minimal tools and experience. By promptly addressing this issue, you can save a significant amount of water, reduce your monthly expenses, and prevent the potential for costly water damage to your bathroom floor and subfloor.
In this article, we’ll guide you through diagnosing a leaky toilet flapper and provide step-by-step instructions on replacing it so you can restore your toilet’s proper function and enjoy a leak-free bathroom again.
What is a Toilet Flapper?
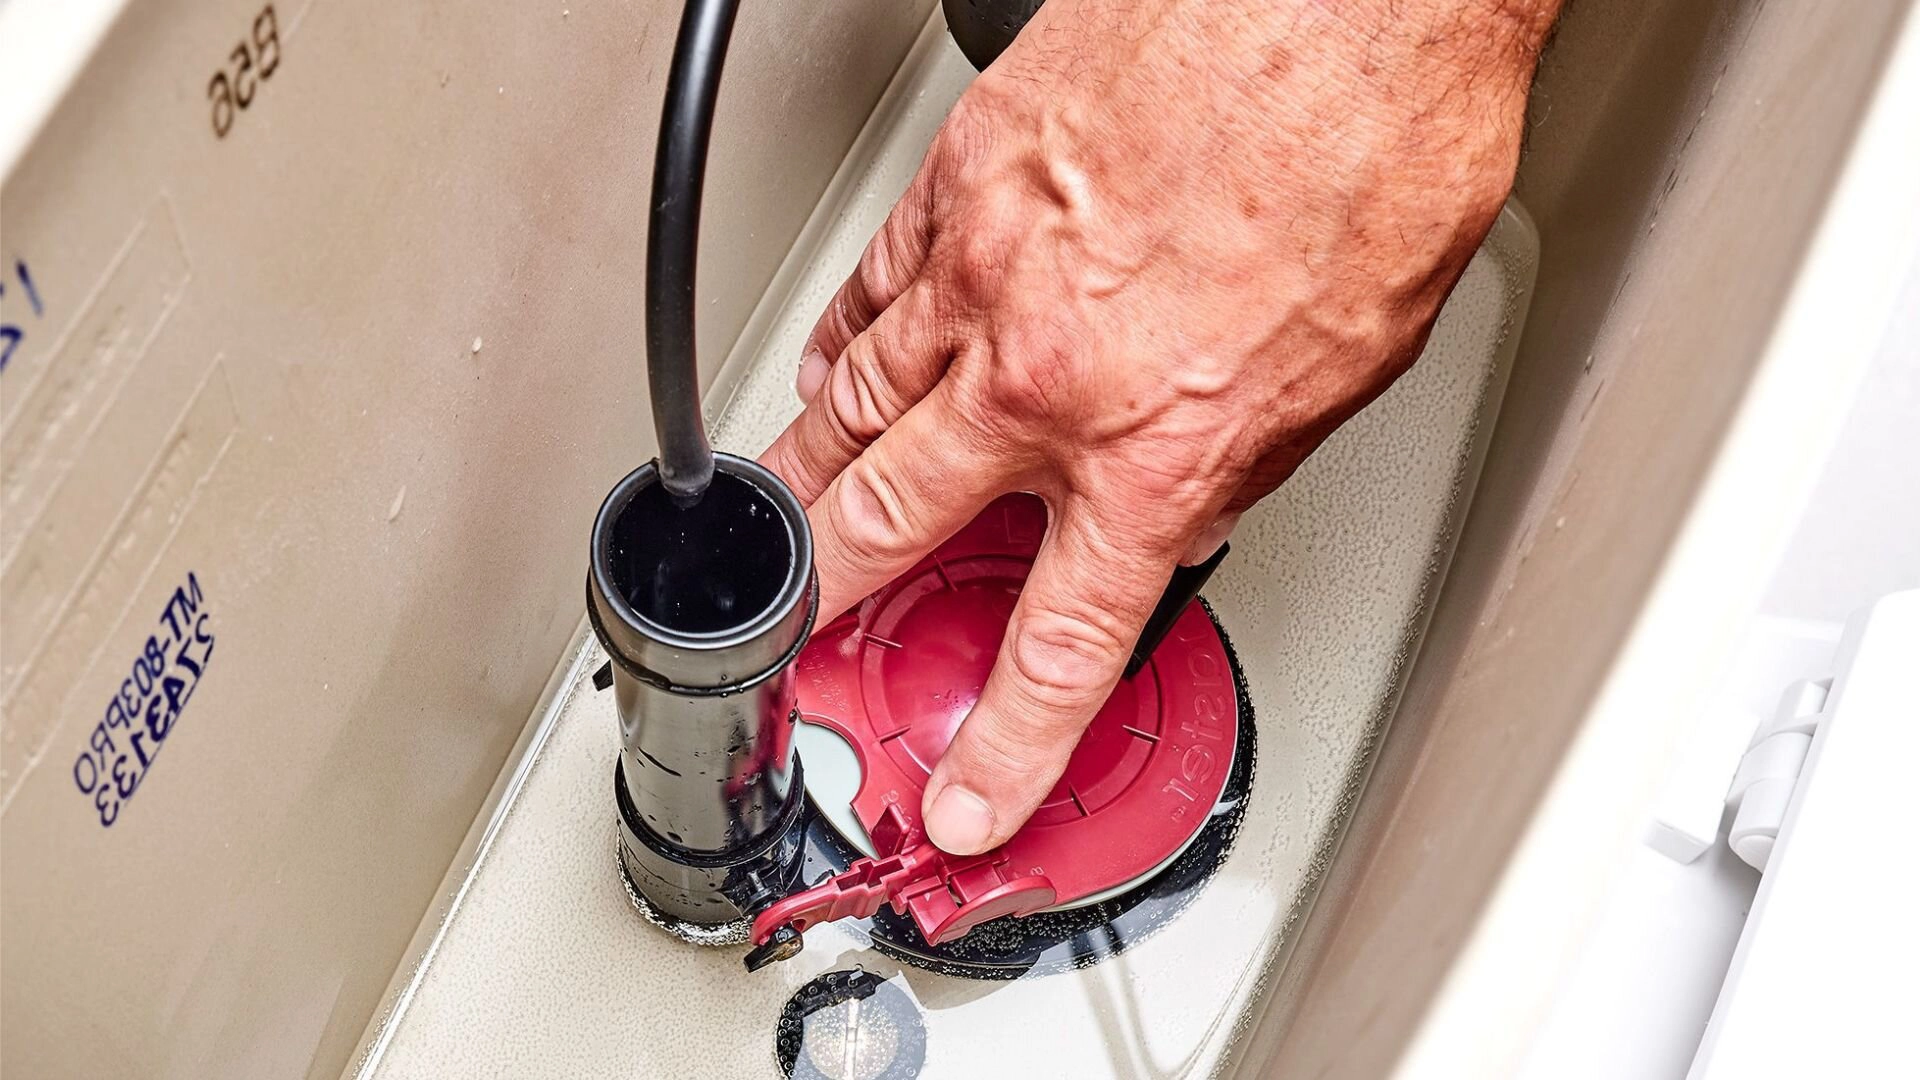
The toilet flapper is a rubber seal at the bottom of your toilet tank. When you flush the toilet, the flapper lifts, allowing water to flow from the tank into the bowl. Once the tank is empty, the flapper falls back into place, sealing the flush valve and refilling the tank.
Over time, the flapper can become worn or damaged, causing it to leak and preventing the tank from holding enough water for a proper flush.

Signs of a Leaking Toilet Flapper
Several signs indicate you may have a leaky toilet flapper:
- Constant running water : If you hear water constantly running in your toilet tank , even when it hasn’t been flushed recently, it’s a good indication that your flapper is leaking.
- Phantom flushes : If your toilet seems to flush without anyone pressing the lever, it’s likely due to a leaking flapper.
- Visible water ripples : If you notice ripples or movement in the toilet bowl water, even when the toilet hasn’t been flushed, it could be caused by a leaky flapper.
- Weak or partial flushes : If your toilet isn’t flushing correctly or seems to have a weak flush, it may be because the flapper isn’t sealing correctly, preventing the tank from filling with enough water.
How to Test for a Leaky Toilet Flapper
Before you replace your toilet flapper, it’s essential to verify that it is the cause of the leak. A simple and effective way to diagnose a leaky toilet flapper is by conducting a food colouring test. This test will help you determine if the flapper allows water to seep from the tank into the bowl, even when the toilet hasn’t been flushed. Here’s how to perform the test:
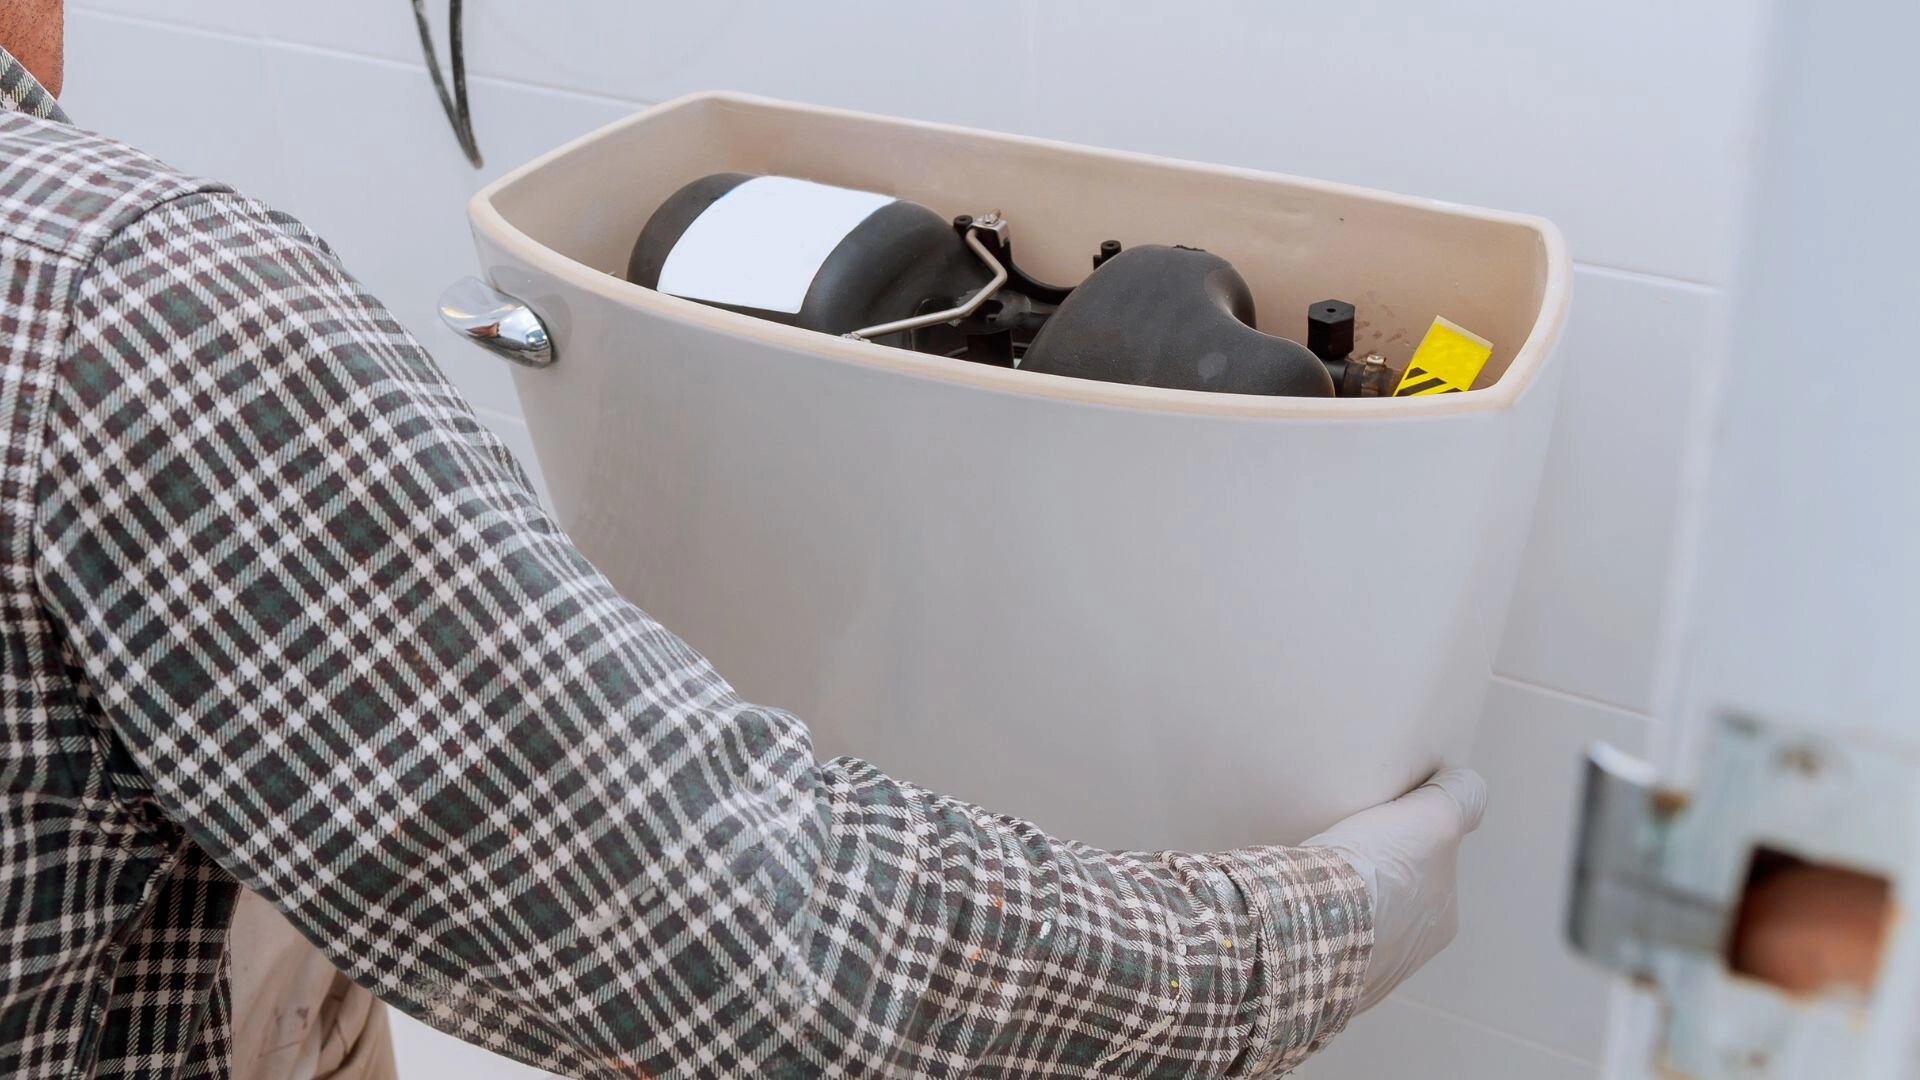
- Carefully remove the lid from your toilet tank and set it aside safely.
- Add several drops of food colouring (any colour will work) to the tank’s water. Use enough food colouring to make the water noticeably bright and distinguishable from clear water.
- Replace the tank lid and wait 15-20 minutes without flushing the toilet. Without using the toilet, this time is essential to ensure accurate test results.
- After waiting, check the toilet bowl for any signs of coloured water. If you see tinted water in the bowl, it indicates that your flapper is leaking and needs replacing. The coloured water in the tank has seeped past the faulty flapper and into the bowl, confirming that the flapper is not sealing correctly.
If no coloured water appears in the toilet bowl after the test, the flapper may not be the source of the leak, and you should investigate other potential causes, such as a damaged fill valve or a crack in the tank or bowl. However, if the test confirms a leaky flapper, replace it to restore your toilet’s proper functioning and prevent water waste.
Tools and Materials Needed
To fix a leaky toilet flapper, you’ll need the following tools and materials:
- Replacement flapper (make sure to get the right size for your toilet model)
- Adjustable pliers
- Scissors
- Sponge or cloth
Step-by-Step Guide to Replacing a Toilet Flapper

Step 1: Turn off the Water Supply
Before beginning any work on your toilet, it’s crucial to turn off the water supply to avoid potential leaks or flooding. Locate the water supply valve on the wall near the toilet’s base or the floor beside the toilet. Turn the valve clockwise to shut off the water completely. This step ensures that no water will flow into the tank while you’re replacing the flapper.
Step 2: Flush the Toilet
Once the water supply is turned off, flush the toilet to drain the tank. This action will empty the tank and provide access to the old flapper. If the tank doesn’t drain completely after one flush, you may need to flush again to remove as much water as possible. Use a sponge or a cloth to soak up any remaining water in the tank, making it easier to work on the flapper.
Step 3: Remove the Old Flapper
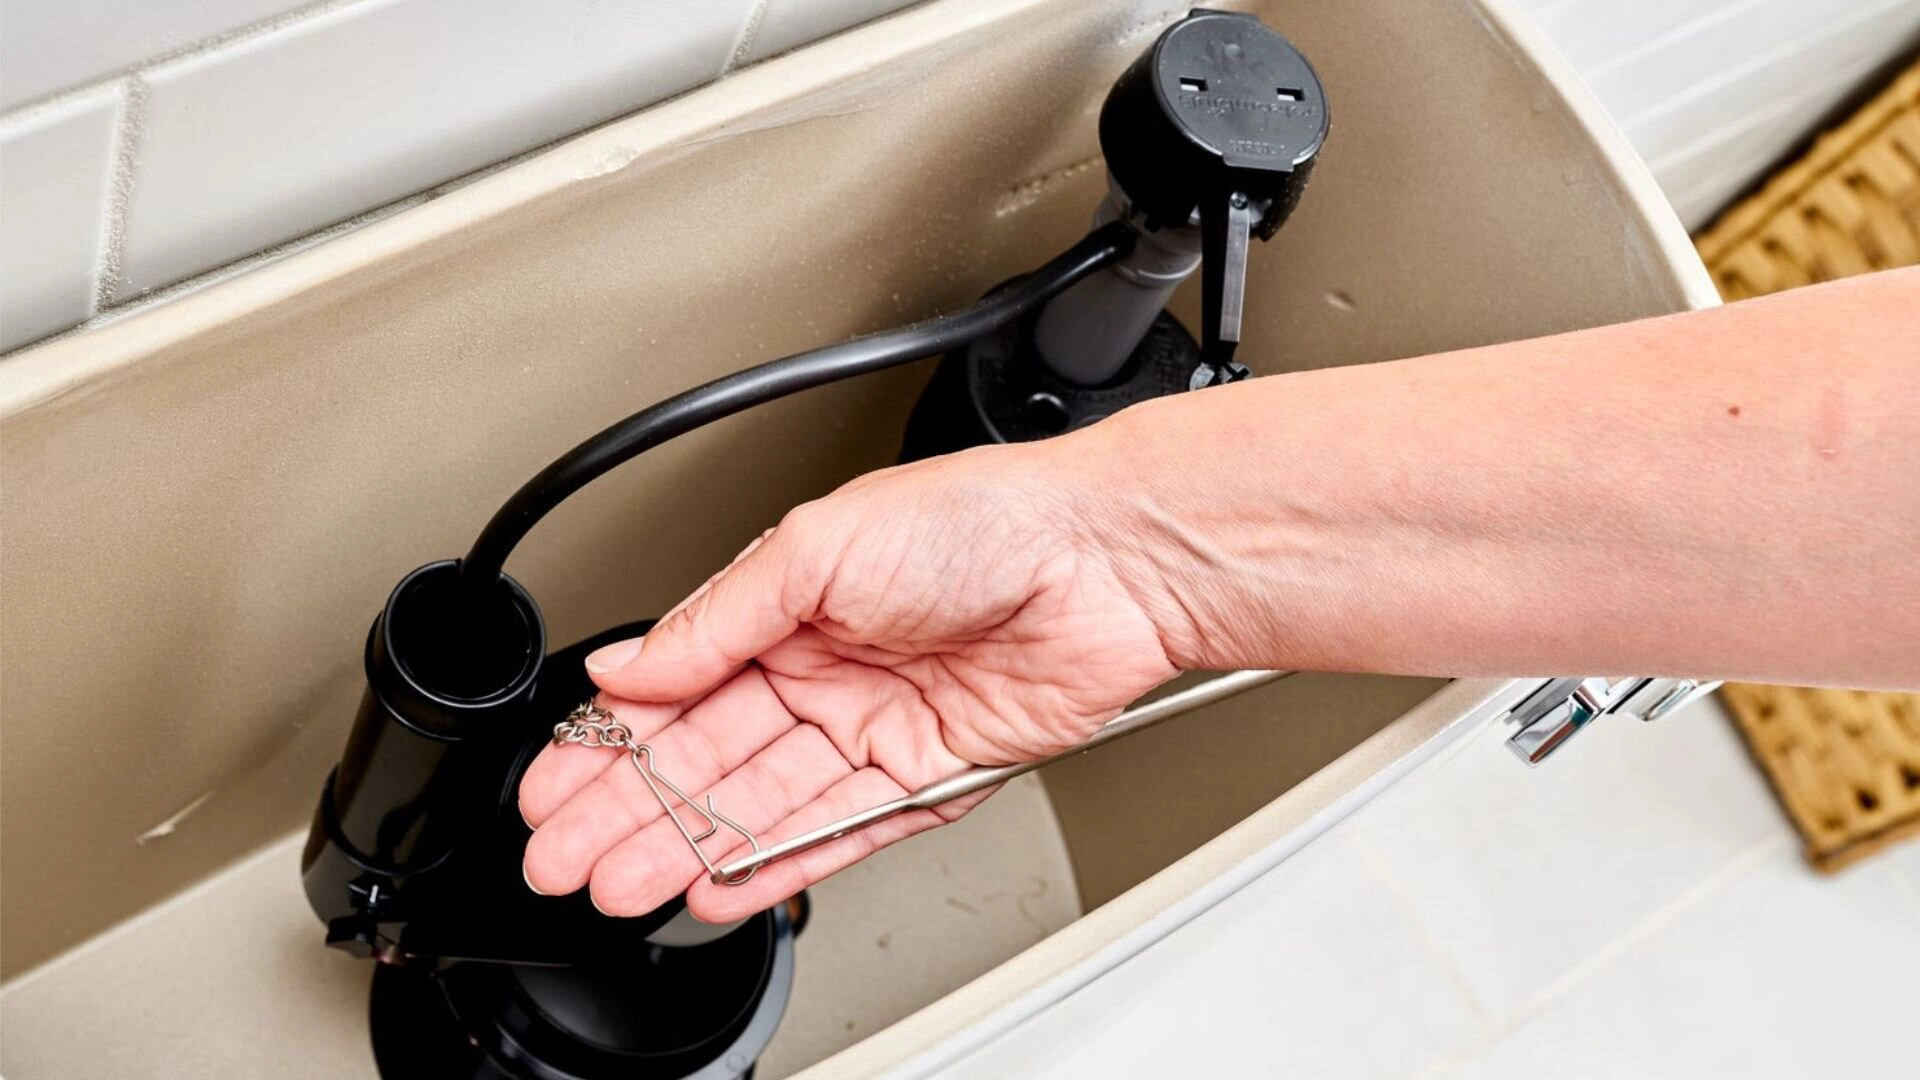
Inside the tank, you’ll see the old flapper connected to the flush valve and attached to the lever arm with a chain. To remove the old flapper, disconnect the chain from the lever arm. Then, detach the flapper from the flush valve. Some flappers are designed with a ring that goes around the overflow tube. If your flapper has this ring, carefully slide it off the overflow tube to complete the removal process.
Step 4: Clean the Flush Valve
Over time, the flush valve seat, where the flapper rests, can accumulate debris, mineral build-up, or even algae growth . Before installing the new flapper, take a moment to clean this area thoroughly. Use a sponge or a soft cloth to wipe away any grime or deposits. A clean flush valve seat will help ensure a proper seal with the new flapper, preventing future leaks.
Step 5: Install the New Flapper
Take your new toilet flapper and attach it to the flush valve. Ensure the flapper is centred correctly on the valve seat for a tight seal. Some new flappers may have an adjustable dial that allows you to customise the flapper’s fit based on your toilet tank’s size. If your flapper has this feature, set the dial to the appropriate tank size according to the manufacturer’s instructions.
Step 6: Connect the Chain
Reattach the chain to the lever arm with the new flapper in place. Pay attention to the slack in the chain, as this can affect the flapper’s performance. The chain should have a slight slack to allow the flapper to close properly. If the chain is too tight, the flapper won’t seal correctly, causing leaks.
On the other hand, if there’s too much slack, the flapper may not lift fully when the toilet is flushed, resulting in weak or incomplete flushes. Adjust the chain as needed to achieve the proper slack.
Step 7: Turn the Water Supply Back On
Once the new flapper is installed and the chain is connected correctly, it’s time to turn the water supply back on. Locate the water supply valve and turn it counterclockwise to open the valve and allow water to flow into the tank. As the tank refills, check for any leaks around the flapper or the water supply connection. If you notice any leaks, double-check that the flapper is seated correctly and the water supply connection is tight.
Step 8: Test the Flush
With the tank refilled, it’s time to test your work. Flush the toilet a few times to ensure the new flapper functions correctly. Observe the flapper’s movement and make sure it lifts fully and seals properly after each flush. Also, check the bowl for any signs of leaks or weak flushes.
If everything is working as it should, congratulations! You’ve successfully replaced your toilet flapper and resolved the leaky toilet issue.
Troubleshooting Common Issues
If you’ve followed the steps to replace your toilet flapper but still encounter problems, don’t worry. Here are a few common issues and how to troubleshoot them:

Flapper Chain Slack
The flapper chain’s slack is crucial for proper functioning. If the chain is too tight, the flapper won’t seal correctly, causing leaks. If there’s too much slack, the flapper may not lift fully, resulting in weak or incomplete flushes. Adjust the chain’s length by hooking it to a different link to fix this issue. The ideal slack should allow the flapper to close entirely while lifting fully when flushed.
Incorrect Flapper Size or Type
Toilet flappers come in various sizes and types to fit different toilet models. If you’ve installed a flapper that doesn’t match your toilet’s specifications, it may not seal properly or function correctly. Double-check your toilet model and ensure you have the right flapper size and type. Consult your toilet’s manual or measure the flush valve’s diameter to find the appropriate flapper .
Dirty or Damaged Flush Valve Seat
A clean flush valve seat is essential for the flapper to create a watertight seal. If the valve seat is dirty or damaged, the flapper may not seal correctly, causing leaks. Inspect the valve seat for debris, mineral build-up, or signs of damage.
Clean the valve seat thoroughly with a sponge or soft cloth, ensuring it’s smooth and even. If the valve seat is damaged, you may need to replace the entire flush valve.
Don’t Let a Leaky Flapper Drain Your Resources
A leaky toilet flapper may seem like a minor issue, but it can quickly become a significant waste of water and money. Replacing a toilet flapper is a simple and inexpensive DIY project that most homeowners can complete with essential tools and a little guidance.
If you encounter persistent leaks or feel unsure about the flapper replacement process , it’s always best to seek professional assistance. Service First Plumbing is here to help if you’re in Sydney.
Don’t let a leaky toilet flapper drain your resources and cause unnecessary stress. If you need professional plumbing assistance in Sydney, !
Leaking Toilet Flapper FAQs
How do you stop a flapper valve from leaking?
To stop a leaking toilet flapper valve, you’ll need to replace the old toilet flapper with a new one. Start by turning off the water supply to the toilet and flushing to drain the tank. Remove the old flapper and clean the flush valve seat. Install the new toilet flapper, ensuring it seals correctly on the valve seat. Adjust the chain to the proper slack, and turn the water supply back on. Test the flush to ensure the new flapper is functioning properly and no water is dripping into the bowl.
Why does my toilet still leak after changing the flapper?
If your toilet leak persists after replacing the toilet flapper valve, there could be a few reasons:
- The new toilet flapper may not seal correctly on the flush valve seat. Ensure the valve seat is clean and the flapper is the correct size and type for your toilet model.
- The chain may have too much or too little slack, preventing the flapper from sealing correctly. Adjust the chain slack accordingly.
- Other issues may be causing the leak, such as a damaged flush valve, fill valve or tank-to-bowl gasket. Inspect these components and replace them if necessary.
Will Vaseline help seal the toilet flapper?
While some suggest using Vaseline to help seal a leaking toilet flapper valve, it is not a reliable or long-term solution. Vaseline may provide a temporary fix by allowing the old toilet flapper to create a better seal, but it can also attract debris and cause further issues. The best course of action is to replace the flapper with a new one designed to seal correctly on the flush valve seat. A properly installed new toilet flapper will stop the water dripping into the bowl and resolve the toilet leak.
Why is my toilet rubber flapper not sealing?
There are several reasons why your toilet flapper valve may not be sealing correctly:
- The flapper or flush valve seat may be dirty or covered in mineral build-up, preventing a proper seal. Clean both surfaces thoroughly.
- The flapper may be old, worn out, or damaged, causing it to lose its ability to seal properly. Replace the old toilet flapper with a new one.
- The chain may be too short or too long, affecting the flapper’s ability to seal. Adjust the chain slack to allow the flapper to close entirely while lifting fully when flushed.
- The flapper may not be the correct size or type for your toilet model, resulting in an improper fit and seal. Ensure you have the right flapper for your specific toilet.