Where and How to Install Gas Points in Your Home
Where and how should you install gas points in your home? This post covers best practices for planning locations and the proper installation process. Learn which rooms are ideal for gas supply based on common appliance usage. Get tips for determining the right number of points and strategically adding lines. We’ll discuss the steps for a code-compliant installation from start to finish.
If you’re looking to upgrade appliances that require gas lines or add new gas supply points to areas of your home, careful location planning is essential. But where should new gas lines be installed for maximum utility and safety?
In this blog post, we’ll break down the key considerations and best practices for determining the optimal placement of gas supply points throughout your home. We’ll cover appliance locations, code requirements, and ventilation needs.
You’ll also learn the installation process step-by-step, from permitting to final inspections. Following guidelines ensures new gas piping passes inspection on the first attempt while minimising risks. By the end, you’ll have the expert knowledge required to thoughtfully add gas lines in a code-compliant manner that enhances functionality and safety for years.
Planning Gas Point Locations in Your Home
The first step in the gas connection process is carefully planning the location of your new gas connection. Taking time to consider appliance usage, code requirements, and the overall layout of your home will save headaches down the road.
You’ll want gas points added in common areas for gas appliances, like the kitchen and laundry room, and ensure the gas mains are easily accessible. Outdoor points are also helpful if you install a gas BBQ or fire pit.
However, local codes need to be considered for ventilation, clearances from windows, and if basement or subfloor locations are allowed. The placement of the gas meter is just as critical, ensuring it complies with regulations and is accessible for your gas retailer when needed.
Room dimensions also factor into ensuring ample space around a gas line. Consulting an installation manual, working with a fully licensed professional, and reviewing your municipality’s plumbing codes will highlight factors to review before finalising locations.

What Should You Look At When Choosing The Right Location?
Several important factors must be examined when determining the ideal locations for new gas points in your home. Current and potential future appliance locations are key so pipes can be strategically run for direct connection.
You’ll also want to account for required venting and consider if an area has adequate cross-ventilation for gas appliances . Room dimensions and clearances from windows per code must allow sufficient spacing around pipes.
The layout of existing plumbing and electrical lines should be reviewed to avoid conflicts during installation. Depending on local codes, factors like subfloor or basement placement might also be regulated.
Consulting with an installer and reviewing your area’s codes can illuminate any restrictions. Evaluating these placement criteria upfront will help you choose functionally optimised locations and pass inspections seamlessly.
Common Rooms for Having Gas Lines Installed
Some of the most sensible and commonly used rooms throughout homes for adding new gas line points are the kitchen, laundry room, outdoor patio or yard space, and sometimes rooms with fireplaces . The kitchen is an obvious choice, as most homes have a gas stove, oven, or dryer. Installing a line here allows for easy appliance hookups.
Similarly, the laundry room is another practical spot since gas dryers are very common. Outdoor living areas are an excellent addition if you regularly use a BBQ or fire pit.
Some living rooms or master bedrooms already have functioning gas fireplaces or wish to install one. Carefully evaluating your household’s needs and reviewing code allowances will determine if these or other rooms are suitable.
Determining the Optimal Number of Gas Points
When installing new gas lines , it’s important to carefully determine the optimal number of points to add based on your home’s layout and potential future needs. While more points mean greater flexibility, overdoing it can drive up costs and be wasteful.
As a general rule, plan on installing a line in any room where you currently have or foresee placing a gas appliance . It’s also wise to include an extra point or two in busy areas like the kitchen in case of future upgrades.
Consider whether outdoor living or a home office space also utilises gas in the long run—balance functionality with your budget and system capacity limitations when deciding.
Consulting a plumber can ensure you have sufficient capacity while avoiding unnecessary pipes. The right amount gives flexibility without going overboard from a cost or safety standpoint.
The Installation Process
Here are the steps typically involved in installing new gas lines in a home:

Obtain Necessary Permits
Get permission from your local plumbing department before beginning installation work . Permits ensure code compliance.
Inspect Existing System
Have a licensed plumber evaluate your current gas setup for any repairs or upgrades needed beforehand.
Run Gas Lines
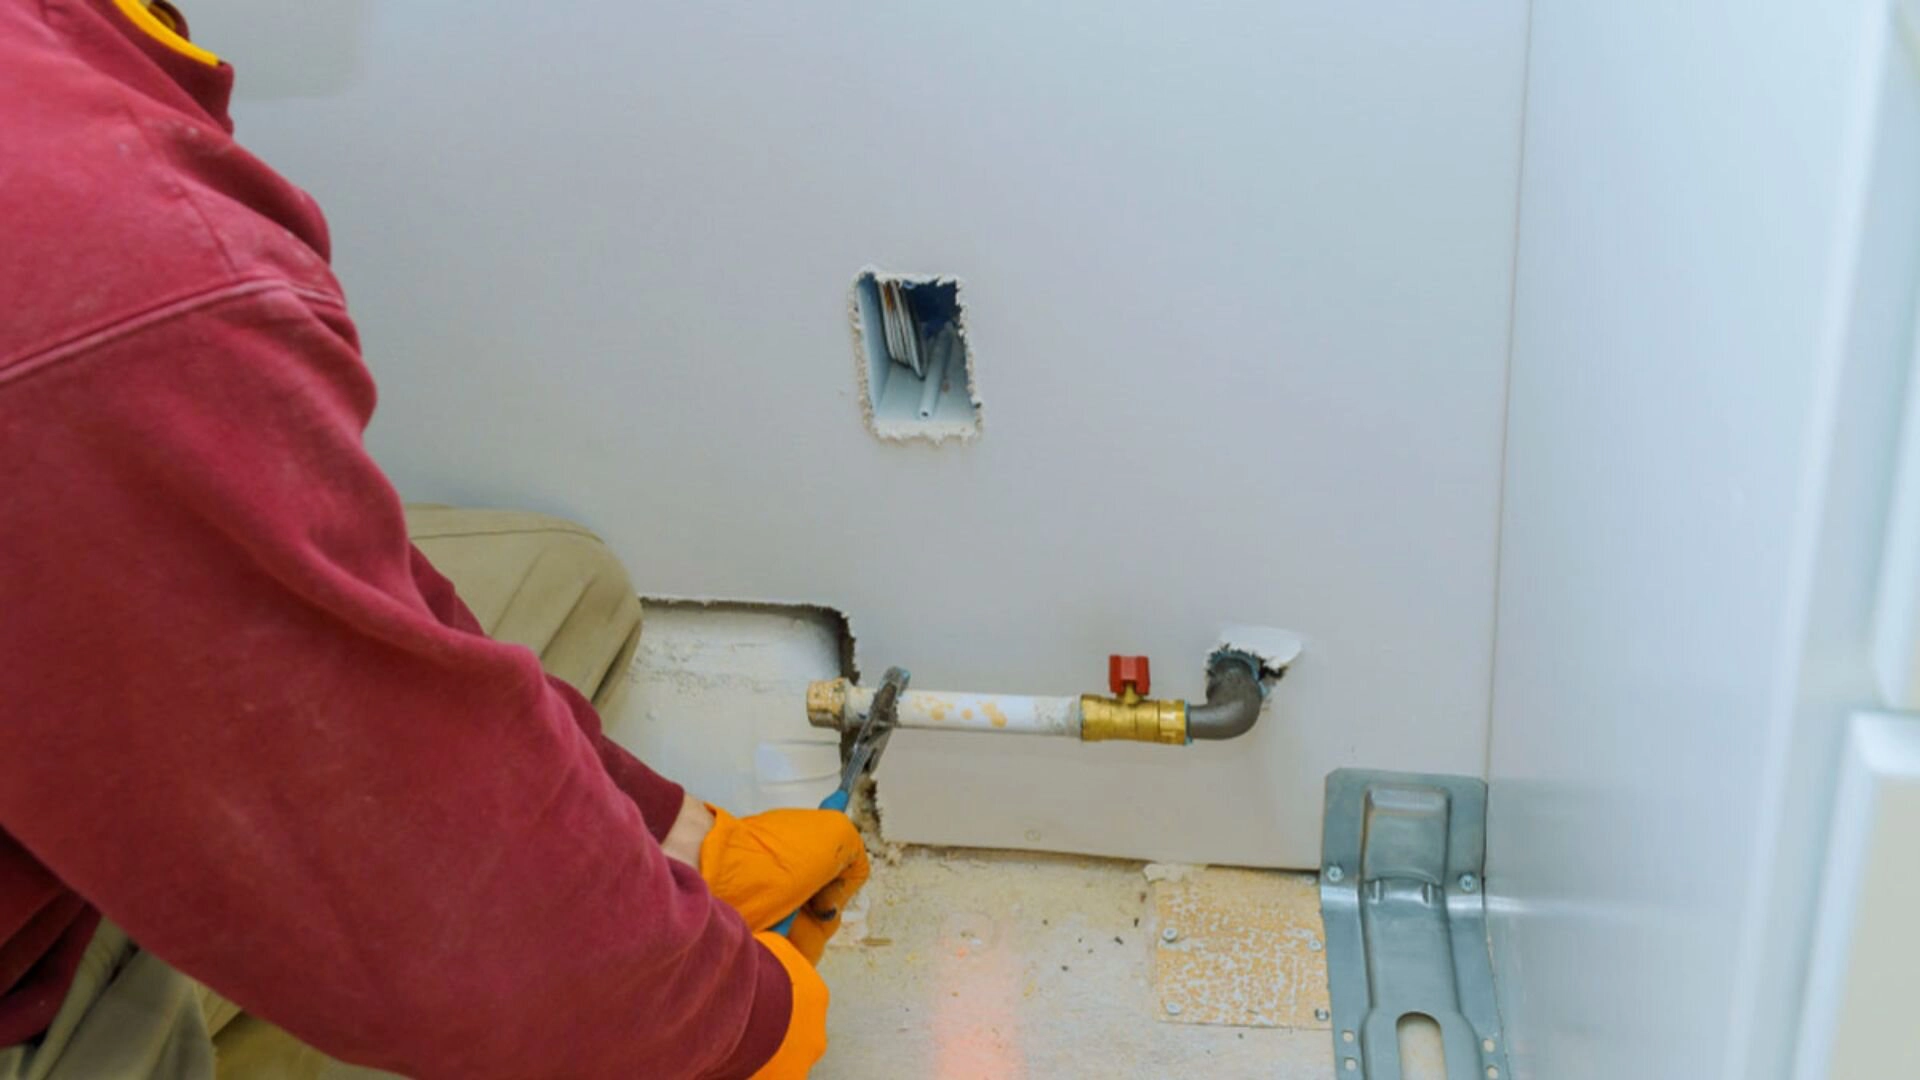
install type-approved pipe materials from the meter/tank to each planned gas point location.
Perform Initial Leak Test
Use gas-rated soapy water or electronic sensors to check all joints and connections for gas leaks before covering pipes.
Cover Piping
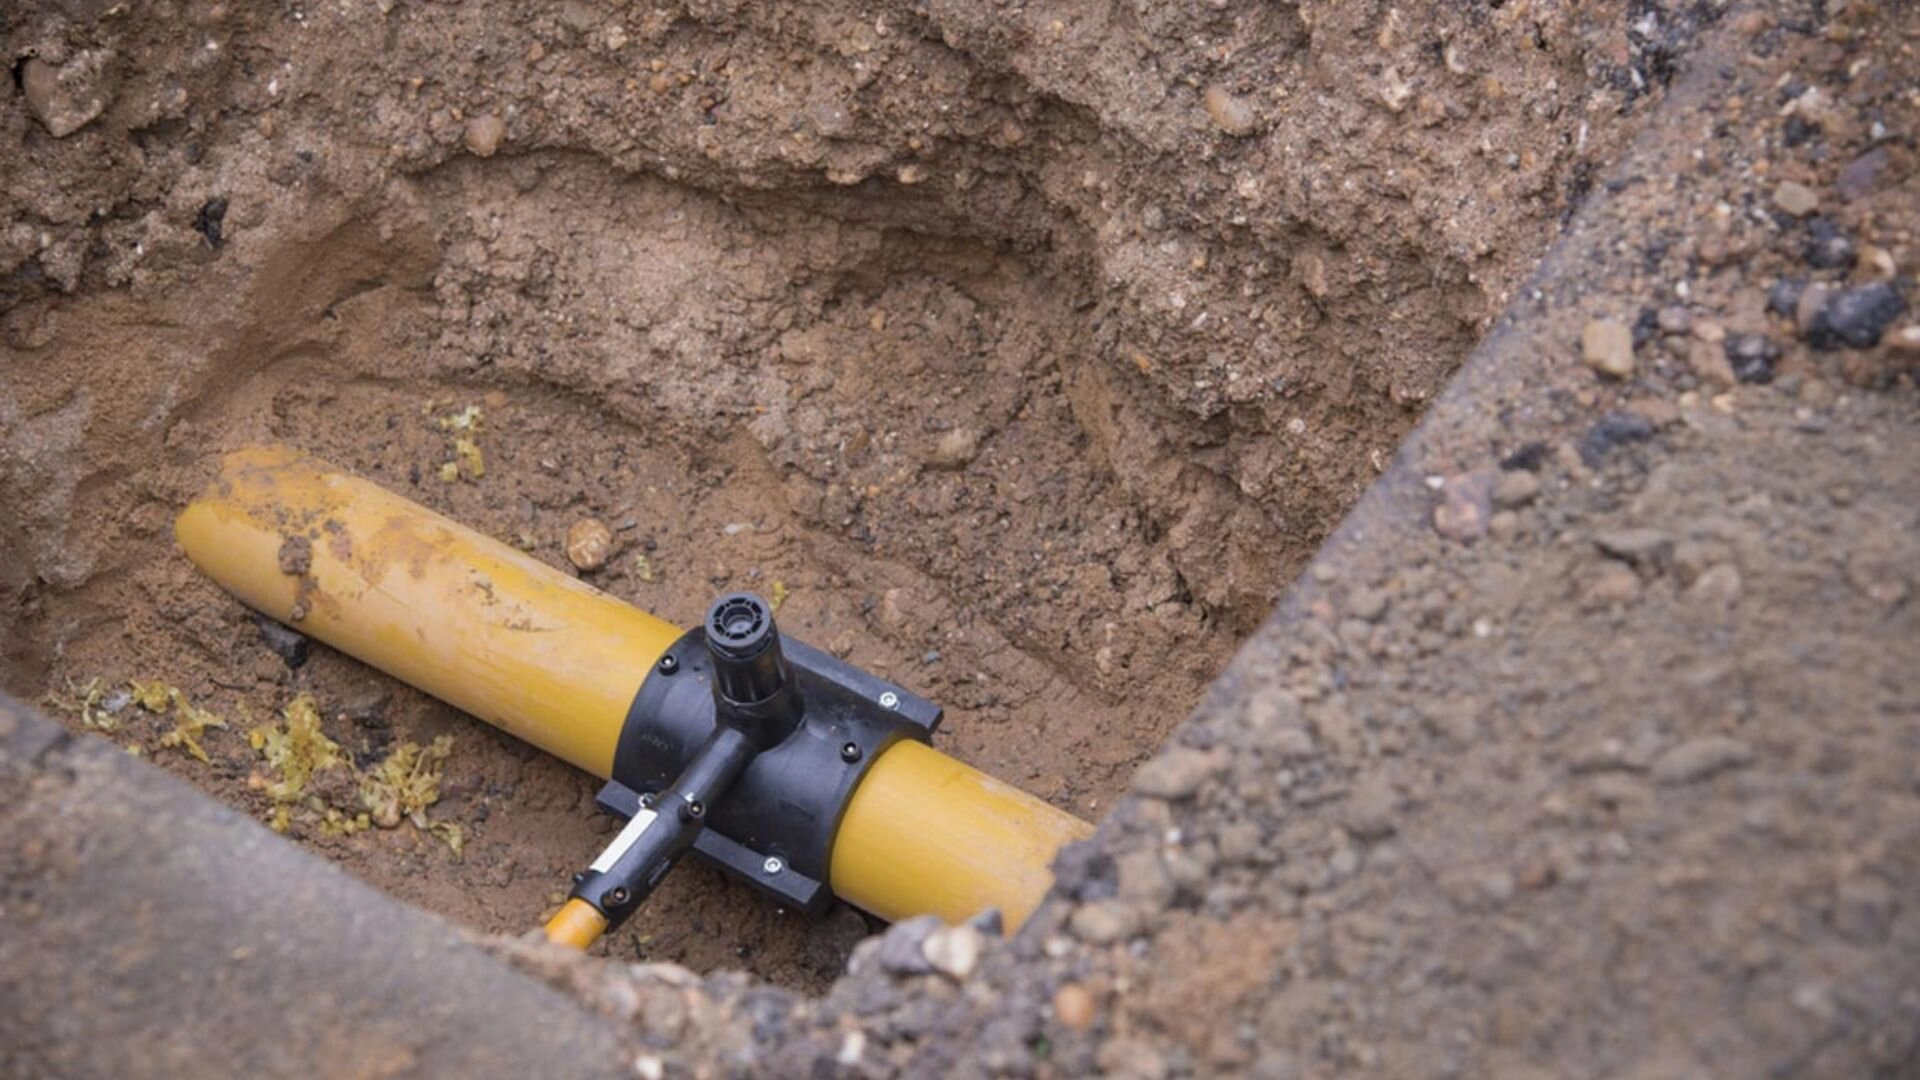
Once lines pass testing, pipes can be buried underground outdoors or concealed within wall cavities.
Schedule Inspection
Contact your local inspector for a compliance check once lines are installed but before covering up.
Conduct Pressure Test
The plumber performs a final high-pressure test to confirm system integrity before connecting appliances.
Secure Connections
Once installation passes inspection, gas lines can be connected safely to planned appliances at each point.
Installing the Piping Correctly
Using approved materials and proper installation methods is critical when running and connecting gas pipes. Black iron or corrugated stainless steel piping is typically required in homes as they are durable and minimise gas leaks over time. Pipes should never be painted as coatings can crack and compromise the system. Fittings must be gas-rated and matched to your region’s gas type (natural gas, liquid petroleum gas, etc) .
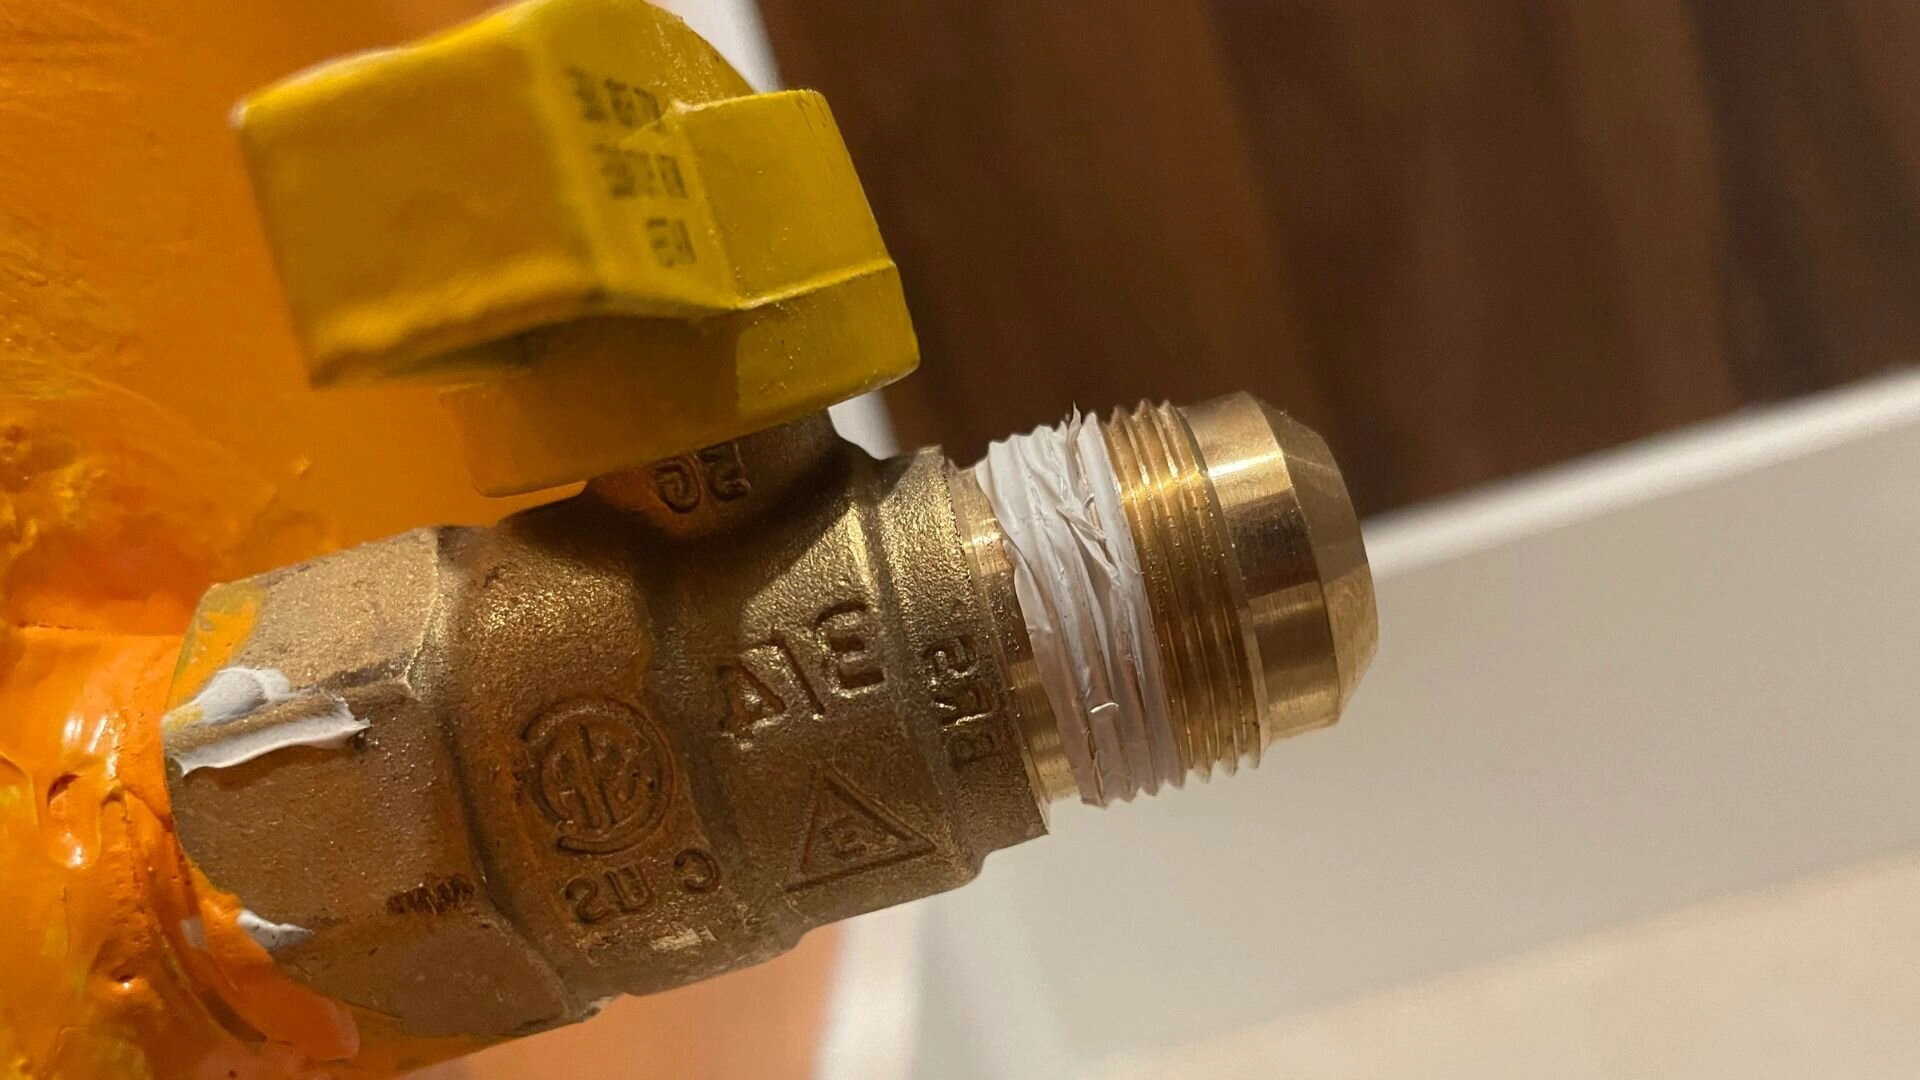
Joints need to be securely fastened with approved pipe dope or tape and assembled according to code. Piping should also be adequately supported to prevent cracks or separation. Avoid overtightening joints, which can crack fittings. Once installed, test joints before burying them underground or concealing them in walls.
Using approved pipe materials and careful installation practices produces a safe, compliant gas system that is less prone to issues down the road. For any gas installation or gas fitting services, it’s crucial to hire licensed gas fitters. A professional gas fitter can ensure proper gas service for appliances like a gas cooktop, perform gas point installations, and handle fixing gas leaks.
A professional service from a qualified gas fitter is essential for safety and compliance. They can address issues like a dirty gas point and provide expert installation and maintenance. Remember that working with gas systems can be dangerous, so always rely on a professional gas fitter for any gas-related work in your home or business.
Pressure Testing Requirements

Pressure testing new gas lines is a critical safety step before usage. It helps ensure no gas leaks are present that could lead to dangerous accidents over time. Building codes require a low-pressure test of typically 10-15psi held for an hour or a high-pressure test that applies 60-100psi for at least 30 minutes.
Licensed gas fitters perform the pressure test using nitrogen gas and pressure gauges. Soapy water is then used to check every connection for bubbles indicating leaks. Any leaks discovered must be fixed and retested until they pass standards. Systems larger than 1-1/2" in diameter may require an additional hydrostatic test.
Proper testing is mandatory to pass the final inspection and receive approval to turn the gas on. This applies to all gas appliances, including a gas oven or gas heaters. If not conducted to code, homeowners risk safety issues down the line.
Gas fitters are trained to conduct these tests accurately and safely. They understand the importance of thorough testing to prevent potential gas leaks that could be hazardous. Their expertise ensures that your gas system, whether for a gas oven, gas heater, or other appliances, is safe and compliant with all regulations.
Remember, working with gas systems requires specialised knowledge and skills. Always rely on qualified gas fitters to install, test, and maintain your gas lines and appliances to ensure safety and proper function.
Securing Your New Gas Points
Once a new gas line installation passes the required inspections, properly securing newly installed gas connection points is the final step. This ensures lines are protected against potential impacts or damage.
Indoor points can be fitted with durable metal access panels that blend into the surrounding walls or cabinets. Outdoors, hard plastic or metal securable caps keep rodents, dirt and debris out of gas pipe openings while allowing convenient access for connection flex lines as needed.
Firmly fastening caps with screws prevent accidental displacement over time. Additionally, gas shut-off valves installed within a few feet of appliance connections allow gas to be safely disconnected if work is required on those lines. Proper safeguarding points protect the system and facilitate future servicing needs as needed.
Get It Right the First Time
We hope this guide has provided valuable information on thoughtfully planning gas line locations and properly installing new gas points in your home. While the process may seem daunting, a systematic approach and following code requirements ensure safety and trouble-free inspections.
At Service First Plumbing, our licensed professionals have years of experience performing high-quality gas line installations . If you’re ready to add new supply lines, please don’t hesitate to .
We would be happy to evaluate your home’s needs, help determine optimal locations, and handle the entire job competently and cost-effectively from start to finish. Your safety and satisfaction are our top priorities. Want more information about your gas system? Please read our blog on protecting your gas lines from corrosion and leaks !